Our site contains ads and uses Amazon affiliate links. We may earn a small commission at no extra cost to you. We know ads can be distracting, and we’re sorry for any inconvenience they cause. It helps us keep the site running. Thanks for your understanding and supporting us!
Recipe at a Glance
- Prep Time: 10 minutes
- Cook Time: 15 minutes
- Total Time: 30 minutes
- Servings: 6 servings
- Diet Type: Vegetarian
- Cuisine: American
Craving creamy cheesecake but don’t have hours to spare in the kitchen?
Your Instant Pot is about to become your new best friend for dessert emergencies.
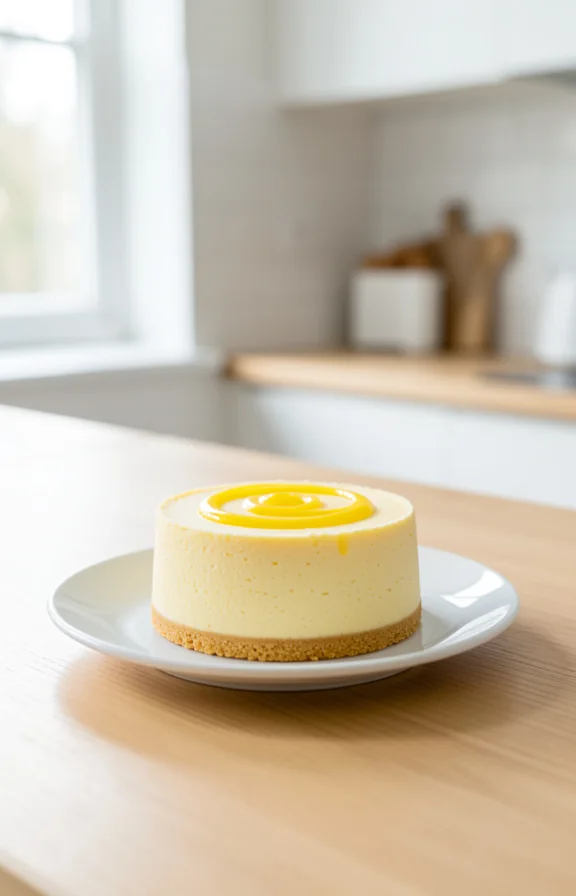
This lemon cheesecake delivers that luxurious, velvety texture you love without the traditional baking hassle or lengthy cooking time.
In just 30 minutes, you’ll have a stunning citrus dessert that tastes like you spent all day perfecting it, complete with a buttery crust and tangy-sweet filling.
Why This Recipe Stands Out
- No water bath required, which eliminates the mess and stress of traditional cheesecake baking.
- The Instant Pot’s pressure cooking creates an incredibly creamy texture that rivals oven-baked versions.
- Fresh lemon juice and zest brighten the rich cream cheese, making it feel light and refreshing.
- You’ll have dessert ready faster than ordering takeout, perfect for last-minute gatherings.
- The recipe uses simple pantry staples, so you likely have everything on hand already.
Tips for Success
- Use room-temperature cream cheese so it blends smoothly without lumps in your filling.
- Let the cheesecake cool completely before refrigerating to prevent condensation from making it soggy.
- Don’t skip the natural pressure release step, as this allows the cheesecake to set properly.
- Fresh lemon juice makes a noticeable difference compared to bottled juice in flavor intensity.
- Pat down your graham cracker crust firmly so it holds together when sliced.
- Use parchment paper on your springform pan’s bottom to prevent leaking.
Common Mistakes to Avoid
- Overmixing the batter introduces too much air, which can cause cracking on top.
- Opening the Instant Pot immediately after cooking traps steam that needs to escape gradually.
- Using cold cream cheese creates a lumpy, uneven texture throughout your filling.
- Skipping the cooling step results in a cheesecake that’s too soft and won’t hold its shape.
- Adding too much lemon juice can curdle the cream cheese and create an unpleasant texture.

Creative Serving Ideas
- Top each slice with a drizzle of lemon curd and fresh whipped cream for an elegant presentation.
- Pair your cheesecake with a bright raspberry coulis for a beautiful color contrast and fruity notes.
- Crumble candied lemon peel on top for a sophisticated, sparkling garnish.
- Serve with shortbread cookies on the side for a textural complement.
- Create a lemon lovers’ dessert board with lemon bars, lemon cookies, and your cheesecake slice.
- Freeze individual slices and serve as a refreshing summer dessert with a dusting of powdered sugar.
Frequently Asked Questions
Can I Make This Cheesecake Without a Springform Pan?
Yes, you can use an 8-inch round cake pan wrapped tightly with foil, or a soufflé dish instead.
The key is ensuring your pan fits inside the Instant Pot with at least an inch of clearance on all sides.
How Do I Store Leftover Cheesecake?
Keep your cheesecake covered in the refrigerator for up to 5 days in an airtight container.
You can also freeze individual slices in plastic wrap for up to 2 months, thawing them overnight in the fridge before serving.
What’s the Difference Between Natural and Quick Pressure Release?
Natural pressure release lets the steam escape on its own over 10-15 minutes, which helps set the cheesecake gently.
Quick pressure release opens the valve immediately, which can cause the cheesecake to crack from temperature shock.
Can I Use a Different Citrus Flavor Instead of Lemon?
Absolutely; orange, lime, or grapefruit juice works beautifully as a 1:1 substitution.
Adjust the zest amount based on how intense you want the citrus flavor to be.
Is This Recipe Freezer-Friendly?
Yes, the entire cheesecake freezes exceptionally well for up to 2 months when wrapped tightly.
Thaw it slowly in the refrigerator for at least 8 hours before serving for the best texture.
Ingredients You’ll Need
- 1 cup graham cracker crumbs
- 4 tablespoons unsalted butter, melted
- 2 tablespoons granulated sugar
- 16 ounces cream cheese, room temperature
- 1/2 cup granulated sugar
- 2 large eggs
- 1/4 cup fresh lemon juice
- 2 tablespoons lemon zest
- 1 teaspoon vanilla extract
- 1/4 teaspoon salt
- 1 cup water
Tools to Use
- Instant Pot (6-quart or 8-quart)
- 7-inch springform pan
- Trivet
- Parchment paper
- Aluminum foil
- Mixing bowls
- Electric hand mixer
- Microplane zester
- Measuring cups and spoons
- Whisk
How to Make Instant Pot Lemon Cheesecake
Step-1: Prepare Your Pan
Spray the inside of your 7-inch springform pan with cooking spray.
Line the bottom with parchment paper to prevent sticking.
Wrap the outside of the pan tightly with aluminum foil to keep water out during cooking.
Step-2: Make the Crust
Combine graham cracker crumbs, melted butter, and 2 tablespoons sugar in a bowl.
Mix until the texture resembles wet sand.
Press the mixture firmly and evenly into the bottom of your prepared pan.
Step-3: Prepare the Filling
Place room-temperature cream cheese in a large mixing bowl.
Beat on medium speed for 2 minutes until soft and creamy.
Add 1/2 cup sugar gradually while beating to avoid lumps.
Step-4: Add Wet Ingredients
Add eggs one at a time, beating on low speed after each addition.
Pour in the fresh lemon juice and add the lemon zest.
Mix in vanilla extract and salt until just combined.

Step-5: Fill the Pan
Pour the cheesecake batter over your prepared crust.
Smooth the top with a spatula for an even surface.
Tap the pan gently on the counter three times to release air bubbles.
Step-6: Set Up the Instant Pot
Pour 1 cup of water into the Instant Pot inner pot.
Place the trivet inside the pot.
Set the springform pan on the trivet, ensuring it fits with at least one inch of clearance.
Step-7: Cook Under Pressure
Close the Instant Pot lid and set the valve to “Sealing.”
Cook on high pressure for 15 minutes.
The Instant Pot will take about 5-7 minutes to come to pressure before cooking begins.
Step-8: Release Pressure Naturally
When the cooking timer beeps, do not open the pot immediately.
Allow natural pressure release for 10 minutes.
Carefully turn the valve to “Venting” to release any remaining pressure.
Step-9: Cool in the Pot
Crack open the lid slightly and leave the cheesecake in the warm pot for 15 minutes.
This gradual cooling prevents the cheesecake from cracking.
Remove the pan from the Instant Pot and allow it to cool to room temperature for 30 minutes.
Step-10: Chill and Serve
Refrigerate the cheesecake for at least 2 hours, or preferably overnight, before serving.
Run a thin knife around the edges before unlatching the springform to prevent sticking.
Slice with a clean, hot knife for neat, beautiful pieces.
Nutritional Information
- Calories: 385 per serving
- Protein: 7 grams
- Fat: 28 grams
- Carbohydrates: 32 grams
- Fiber: 0 grams
- Sodium: 285 milligrams
- Sugar: 28 grams
Note: Nutritional values are approximate and may vary based on specific ingredient brands used.


