Our site contains ads and uses Amazon affiliate links. We may earn a small commission at no extra cost to you. We know ads can be distracting, and we’re sorry for any inconvenience they cause. It helps us keep the site running. Thanks for your understanding and supporting us!
Most cherry pie bar recipes pour canned filling straight over raw dough and hope for the best.
That filling is thickened just enough to sit in a pie plate, not to survive another 35 minutes of oven heat plus a full slice through cold bars.
This recipe walks through the mechanics behind every step:
- why canned filling needs a second round of thickening before it goes in the pan,
- the real reason almond extract belongs in a cherry recipe,
- how your pan material changes whether the topping crisps or stays soft,
- exactly what to look for so you never cut into a puddle of cherry juice again.
Why Canned Cherry Pie Filling Needs a Fix Before It Goes in the Pan
Canned cherry pie filling is thickened to hold its shape sitting still in a jar. It was never designed to survive another round of oven heat plus the moisture that bakes out of the dough around it.
That second exposure to heat breaks down some of the starch that was already doing its job. The result is a filling that looked thick on the spoon but turns watery once it hits a hot oven for half an hour.
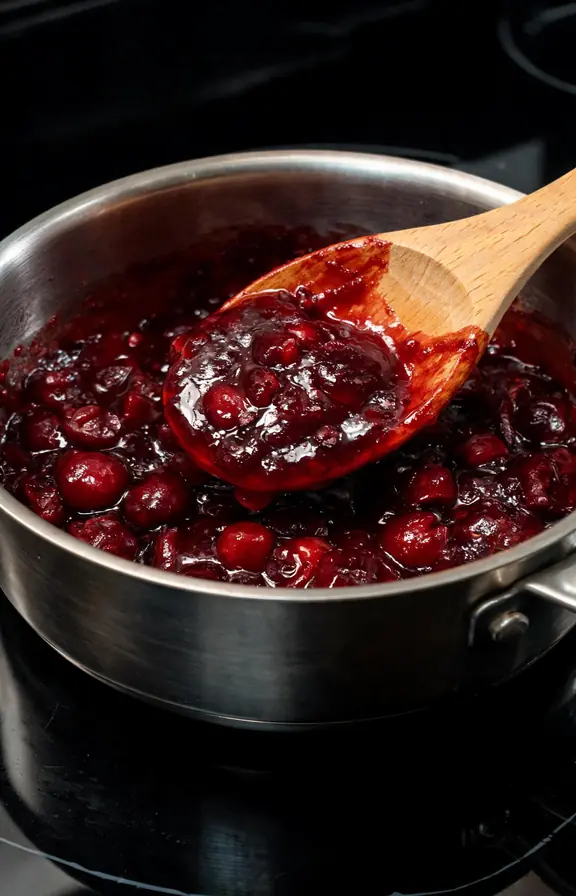
Simmering the filling briefly with extra cornstarch and lemon juice before assembly rebuilds that thickening power. The lemon juice also cuts the flat sweetness of canned filling and makes the cherry flavor taste brighter and less one note.
Why Almond Extract Was Basically Made for Cherries
Almond extract in a cherry recipe is not a random pairing. Cherries and almonds both belong to the Prunus family, and their pits share a compound called amygdalin, which breaks down into benzaldehyde, the same aromatic molecule responsible for the classic almond scent.
According to reporting on how cherry flavoring is derived from stone fruit chemistry, benzaldehyde is what gives cherry pits and bitter almonds their overlapping smell, which is exactly why cherry desserts taste noticeably rounder with a little almond extract mixed in.
Use it sparingly. A quarter teaspoon in the filling and a half teaspoon in the dough is enough to deepen the cherry flavor without making the bars taste like marzipan.
Metal Pan vs. Glass Pan: Which One Bakes a Better Cherry Bar
This comparison rarely shows up in other cherry bar recipes, and it changes your outcome more than most people expect.
A light colored aluminum 9×13 pan conducts heat quickly and evenly, which helps the bottom crust set fast and keeps the crumbled topping from turning soggy under the cherry layer.
Glass holds heat rather than conducting it quickly, so the crust takes longer to firm up and the topping stays paler and softer by the time the center is fully baked.
For the crispest topping and the sturdiest base, use a metal pan. If glass is all you have, add five extra minutes to the bake time and watch the edges rather than the clock.
Reading the Doneness Cues: How to Know Your Bars Are Actually Ready
Golden color on top is not proof the filling underneath has set. A browned crumble over a pale, jiggly center is one of the most common reasons cherry pie bars slice into a puddle.
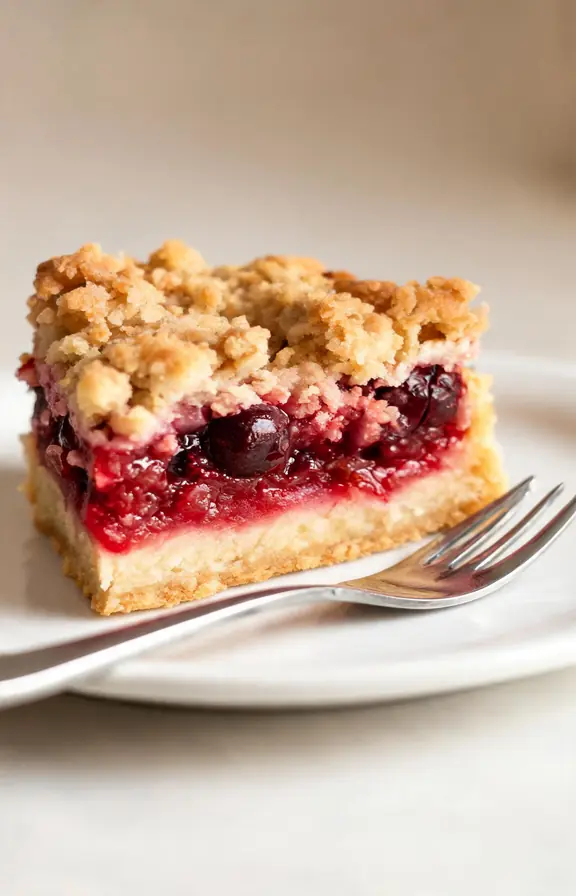
Watch the edges of the pan instead. Thick, slow moving bubbles pushing up around the perimeter mean the cornstarch has fully activated and the filling is setting properly.
How to Store, Freeze, and Reheat Cherry Pie Bars
These bars actually improve after a night in the fridge, since the filling needs that time to finish setting completely.
Store cooled, cut bars in an airtight container in the refrigerator for up to four days. The chilled filling stays firm and slices cleanly straight from the fridge.
To freeze, wrap the whole cooled slab in plastic wrap before slicing, then freeze for up to three months. Thaw overnight in the fridge, then slice once fully thawed for the cleanest cuts.
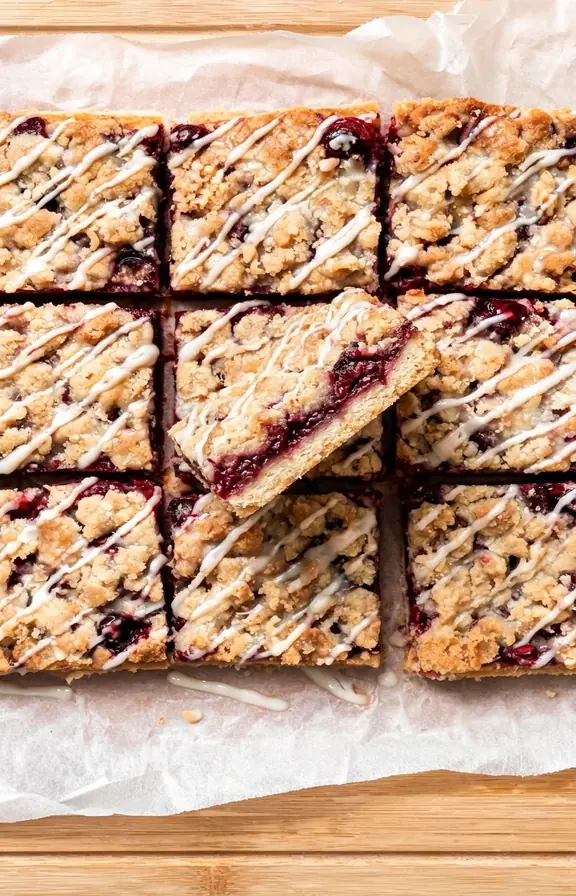
For a warm serving, reheat individual bars in a 300°F oven for eight minutes rather than microwaving, which turns the crumble topping soft instead of crisp.
Frequently Asked Questions
Easy Cherry Pie Bars
Soft shortbread crust and crumble topping wrapped around a glossy, fixed cherry filling with a touch of almond extract. Slices clean, freezes well, no rolling pin required.
- 9×13 inch metal baking pan
- Parchment paper
- Medium saucepan (for fixing the filling)
- Large mixing bowl or stand mixer
- Rubber spatula
- Wire cooling rack
- 1 cup (226g) unsalted butter, softened
- 1 cup (200g) granulated sugar
- 2 large eggs
- 1 teaspoon (5ml) vanilla extract
- 1/2 teaspoon (2ml) almond extract
- 2 1/2 cups (313g) all-purpose flour
- 1 teaspoon (4g) baking powder
- 1/2 teaspoon (3g) fine sea salt
- 2 cans (21 oz each) cherry pie filling
- 1 tablespoon (8g) cornstarch
- 1 tablespoon (15ml) fresh lemon juice
- 1/4 teaspoon (1ml) almond extract
- 1 cup (120g) powdered sugar
- 2 tablespoons (30ml) whole milk
- 1/4 teaspoon (1ml) almond extract
- Fix the cherry filling In a medium saucepan, whisk the cherry pie filling with the cornstarch and lemon juice. Bring to a gentle simmer over medium heat, stirring constantly, for 3 to 4 minutes until noticeably thickened and glossy. Remove from heat, stir in the almond extract, and set aside to cool to room temperature.
- Make the dough Preheat the oven to 350°F (175°C) and line a 9×13 inch pan with parchment paper, leaving overhang on the sides. Cream the butter and sugar together until light and fluffy, about 3 minutes. Beat in the eggs one at a time, then the vanilla and almond extract. In a separate bowl, whisk the flour, baking powder, and salt, then gradually add to the wet mixture until just combined.
- Press the base Set aside about one third of the dough for the topping. Press the remaining two thirds firmly and evenly into the bottom of the prepared pan using the back of a spoon or your fingertips.
- Layer the filling Spread the cooled cherry filling evenly over the pressed base, going all the way to the edges of the pan.
- Top and bake Drop the reserved dough over the filling by uneven spoonfuls, leaving gaps of cherry filling visible between clumps. Bake for 35 to 40 minutes, until the topping is golden and thick, slow bubbles appear at the edges of the pan.
- Cool and chill Cool the pan completely on a wire rack, about 1 hour, then refrigerate for at least 2 hours so the filling fully sets before slicing.
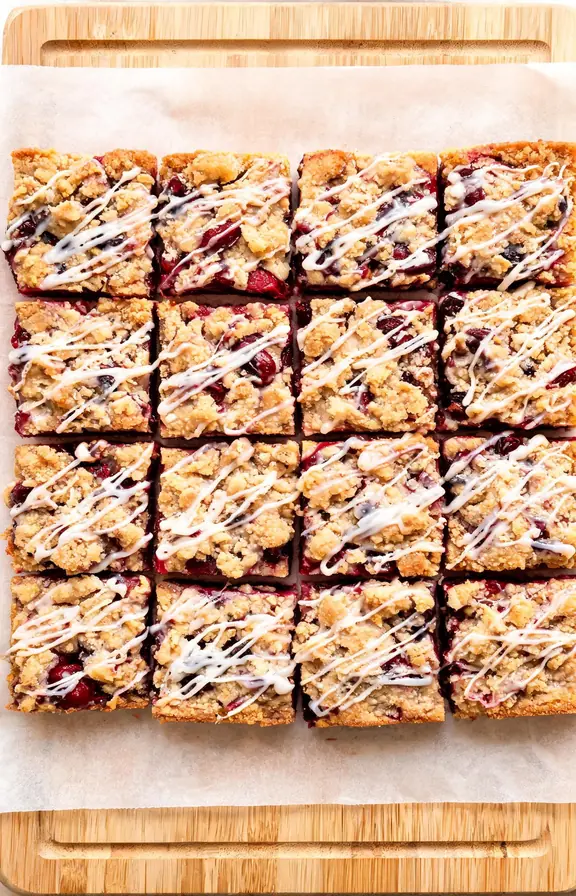
- Glaze and slice Whisk together the powdered sugar, milk, and almond extract until smooth. Lift the chilled slab out using the parchment overhang, drizzle with glaze, and slice into 16 squares with a sharp knife wiped clean between cuts.
Nutritional values are estimates calculated using standard USDA food composition data. Actual values will vary based on specific brands of pie filling and butter used, and exact bar size after slicing.