Our site contains ads and uses Amazon affiliate links. We may earn a small commission at no extra cost to you. We know ads can be distracting, and we’re sorry for any inconvenience they cause. It helps us keep the site running. Thanks for your understanding and supporting us!
Recipe at a Glance
- Prep Time: 10 minutes
- Cook Time: 12 minutes
- Total Time: 22 minutes
- Servings: 24 cookies
- Diet Type: Vegetarian
- Cuisine: American
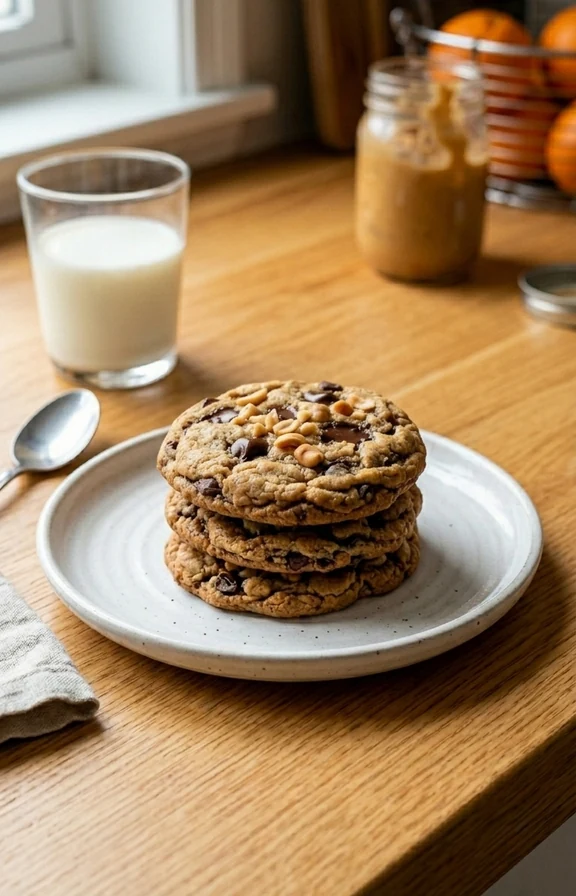
Warm peanut butter and melted chocolate fill the kitchen before the timer even goes off.
These peanut butter chocolate chip cookies come together in one bowl with nothing but a fork.
You do not need a stand mixer, special equipment, or any baking experience to get them right.
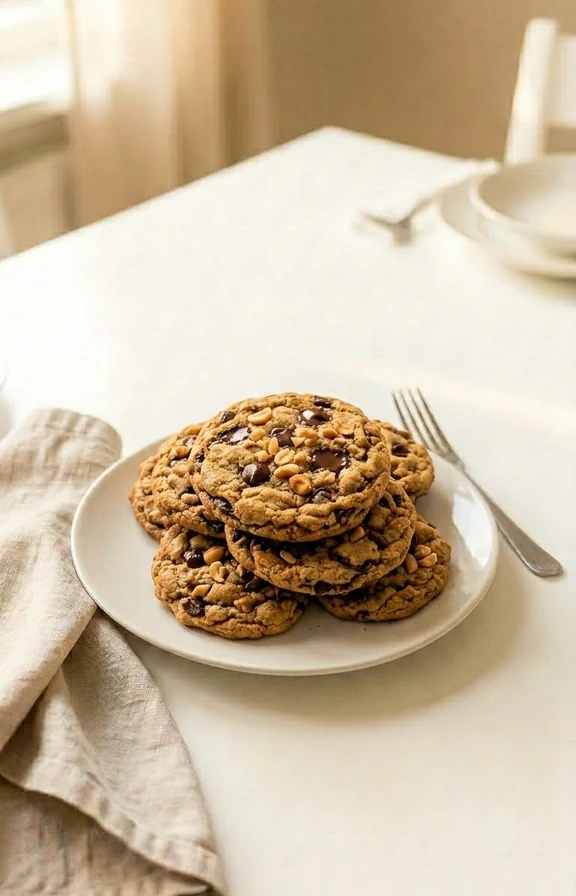
The dough takes about 10 minutes to mix and the cookies bake up soft, thick, and loaded with chocolate.
Every bite has that familiar peanut butter richness with pools of semi-sweet chocolate throughout.
Your family will ask for these again before the first batch is even finished.
Why This Recipe Stands Out
- Uses softened butter and creamy peanut butter together, giving the dough a rich, layered fat base that creates a chewy, soft center without any mixer needed.
- Brown sugar adds molasses moisture, which keeps cookies tender even after they cool. No dry, crumbly texture the next day.
- An extra egg yolk in the dough adds richness and structure, producing thick cookies that hold their shape rather than spreading flat.
- The entire dough mixes in one bowl with a fork or spatula. No equipment to clean and no steps to overthink.
- Baking soda reacts with the brown sugar to give cookies a slight lift and chew without making them cakey or puffy.
Tips for Success
- Use creamy peanut butter like Skippy or Jif rather than natural peanut butter. Natural varieties separate and add excess oil, making the dough too wet to hold together properly.
- Soften your butter until it dents easily when pressed but is not melted. Too-warm butter will not incorporate the sugars correctly and the cookies will spread too thin.
- Measure flour using the spoon-and-level method. Spoon flour into your measuring cup, then level it off. Scooping directly packs in too much flour and produces dry, dense cookies.
- Pull cookies from the oven when the edges just turn golden but the centers still look slightly underdone. They continue setting on the hot pan for another 5 minutes after baking.
- For thicker, chewier cookies, refrigerate the shaped dough balls for 30 minutes before baking. This slows spreading and deepens the peanut butter flavor.
Common Mistakes to Avoid
- Adding eggs to hot melted butter: If butter is too warm when you mix in the egg, it partially cooks and creates a lumpy dough that bakes up with an odd texture.
- Overmixing the dough after adding flour: Working the flour too long develops gluten and produces cookies that are tough and dense rather than soft and chewy.
- Placing dough on a warm baking sheet: Reusing a hot pan without cooling it first causes the dough to spread and melt before it reaches the oven, resulting in flat, greasy cookies.
- Using old or expired baking soda: Baking soda loses potency after 6 months. Inactive baking soda means the cookies will bake flat and dense with no lift.
- Skipping parchment paper: Bare pans cause the bottoms to brown unevenly and cookies stick when you try to lift them, tearing apart before they cool.
Creative Serving Ideas
- Sandwich two warm cookies around a scoop of vanilla bean ice cream and roll the edges in crushed pretzels for a salty-sweet ice cream sandwich.
- Crumble cookies over a bowl of warm chocolate pudding and top with a drizzle of peanut butter thinned with a little cream for a deconstructed dessert.
- Pack three or four cookies into a cellophane bag with a ribbon for a quick homemade gift that looks bakery-level without any extra effort.
- Press a square of dark chocolate into the center of each cookie right out of the oven for a glossy, ganache-style finish that looks intentional and indulgent.
- Serve warm alongside a strong black coffee or espresso. The bitterness cuts through the richness of the peanut butter and makes each bite taste more complex.
Frequently Asked Questions
Can I use natural peanut butter in this recipe?
Natural peanut butter can work but it often makes the dough oilier and looser because the oils separate from the solids.
Stir it very thoroughly before measuring. For the best texture in these peanut butter chocolate chip cookies, stick with a conventional creamy brand like Jif or Skippy.
Why are my cookies spreading too flat?
Flat cookies usually mean the butter was too warm or slightly melted before mixing.
Too little flour from packing the measuring cup also causes excess spreading.
Chill your shaped dough balls for 20 to 30 minutes before baking to help them hold their thickness.
How do I store leftover cookies and how long do they last?
Store completely cooled cookies in an airtight container at room temperature for up to 5 days.
For longer storage, freeze baked cookies in a zip-top bag for up to 3 months.
Thaw at room temperature or microwave a frozen cookie for 15-20 seconds to revive that fresh-baked softness.
Can I make these dairy-free or vegan?
Replace the butter with vegan butter or refined coconut oil in the same quantity.
Use a flax egg made from 1 tablespoon ground flaxseed mixed with 3 tablespoons water and rested for 5 minutes.
Choose dairy-free chocolate chips and your peanut butter chocolate chip cookies will be fully plant-based.
My dough feels crumbly. What went wrong?
A crumbly dough usually means too much flour was added or the butter was not soft enough to bind properly.
Add one teaspoon of milk at a time, mixing between each addition, until the dough holds together when pressed.
Warm hands pressing the dough into balls also help it come together without adding extra liquid.
Do I have to chill the dough?
No, these peanut butter chocolate chip cookies bake well without chilling and that is part of what makes them so fast.
Chilling for 30 minutes does produce slightly thicker cookies with a deeper flavour.
If you are in a hurry, skip the chill and bake immediately. You will still get a great result.
Ingredients You’ll Need
- 1/2 cup (115g) unsalted butter, softened
- 1/2 cup (130g) creamy peanut butter
- 3/4 cup (150g) light brown sugar, packed
- 1/4 cup (50g) granulated white sugar
- 1 large egg
- 1 egg yolk
- 1 teaspoon pure vanilla extract
- 1 1/2 cups (190g) all-purpose flour
- 1/2 teaspoon baking soda
- 1/4 teaspoon fine salt
- 1 1/4 cups (210g) semi-sweet chocolate chips
Tools to Use
- Large mixing bowl
- Medium mixing bowl
- Fork or wooden spoon
- Silicone spatula
- Measuring cups and spoons
- Digital kitchen scale (optional but recommended)
- Baking sheet
- Parchment paper
- Cookie scoop or tablespoon
- Wire cooling rack
How to Make Peanut Butter Chocolate Chip Cookies
Step-1: Preheat and Prep
Preheat your oven to 350°F (175°C) and line two baking sheets with parchment paper.
This gives the oven full time to reach an even temperature before your first batch goes in.
Step-2: Cream Butter, Peanut Butter, and Sugars
Add the softened butter, peanut butter, brown sugar, and white sugar to a large bowl and beat with a fork for 2 to 3 minutes.
The mixture should lighten slightly in colour and look smooth and creamy throughout.
Step-3: Add Egg, Yolk, and Vanilla
Add the whole egg, egg yolk, and vanilla extract and mix until fully incorporated with no yellow streaks remaining.
Do not rush this step. A properly mixed wet base creates an even, cohesive dough.
Step-4: Add Dry Ingredients
In a separate bowl, whisk together the flour, baking soda, and salt, then add them to the wet mixture all at once.
Stir with a spatula using folding motions until just combined. Stop the moment no dry flour streaks remain.
Step-5: Fold in Chocolate Chips
Add the semi-sweet chocolate chips and fold gently until they are evenly distributed throughout the dough.
Reserve a small handful to press onto the tops of each cookie before baking for a bakery-style finish.
Step-6: Scoop and Shape
Use a cookie scoop or heaped tablespoon to portion the dough into balls about 1.5 inches wide, placed 2 inches apart on the lined sheet.
Press each ball gently with your palm to flatten it slightly. This helps them bake evenly through the center.
Step-7: Bake
Bake for 10 to 12 minutes, until the edges are just golden but the centers still look slightly soft and underdone.
Do not overbake. Residual heat from the pan will continue setting the centers as the cookies cool.
Step-8: Cool and Set
Leave the cookies on the baking sheet for 5 minutes before transferring to a wire rack to cool completely.
Serve warm for gooey chocolate pools, or cool fully for a chewier, more structured bite.
Nutritional Information
- Calories: 171 kcal
- Total Fat: 9g
- Saturated Fat: 4g
- Carbohydrates: 22g
- Sugar: 14g
- Protein: 3g
- Fiber: 1g
- Sodium: 95mg
- Cholesterol: 28mg
Note: Nutritional values are approximate and may vary based on specific ingredient brands used.


