Our site contains ads and uses Amazon affiliate links. We may earn a small commission at no extra cost to you. We know ads can be distracting, and we’re sorry for any inconvenience they cause. It helps us keep the site running. Thanks for your understanding and supporting us!
Most pumpkin coffee cake recipes have the same two problems. The crumb tastes more like spice than pumpkin, and the streusel either melts into the batter or turns into a dry, floury dust.
Neither issue comes down to your oven or your ingredients. It comes down to how much water is actually in a can of pumpkin, and what that water does to your batter and topping.
This article breaks down the science behind a pumpkin coffee cake that tastes genuinely of pumpkin, holds a tender crumb, and keeps its streusel crisp for days. Then it gives you the full recipe built around that science.
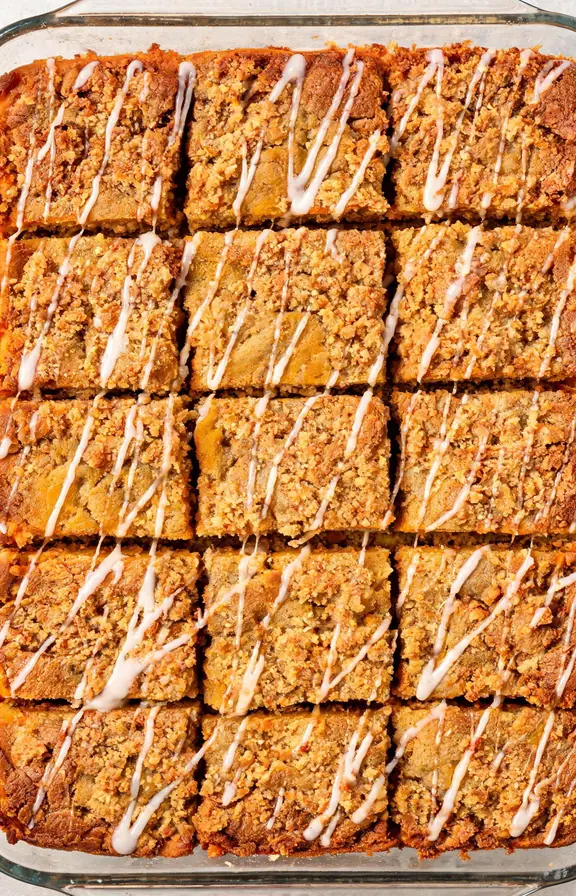
Why Pumpkin Coffee Cake Turns Gummy, Wet, or Bland
Raw pumpkin is mostly water. Even canned puree carries a huge amount of moisture that most recipes never account for.
When a batter already has butter, eggs, and sugar contributing liquid, adding a full can of straight pumpkin puree on top can overload the structure. The result is a cake that looks done on a toothpick test but still tastes wet and dense in the middle.
The second problem is flavor, not texture. Because pumpkin puree is so watery, the flavor you taste in most pumpkin bakes is really just pumpkin pie spice. The pumpkin itself gets diluted into the background.
The Reduced Pumpkin Trick That Fixes Both Texture and Flavor
Cooking pumpkin puree on the stovetop for a few minutes evaporates a meaningful amount of its water content. This concentrates the natural pumpkin flavor instead of diluting it.
It’s been found that raw pumpkin can run up to 90 percent water, which is why bakers who simply add more puree to boost flavor usually end up with a soggy texture instead of a more pumpkin forward one. Reducing the puree on the stove solves that tradeoff directly.
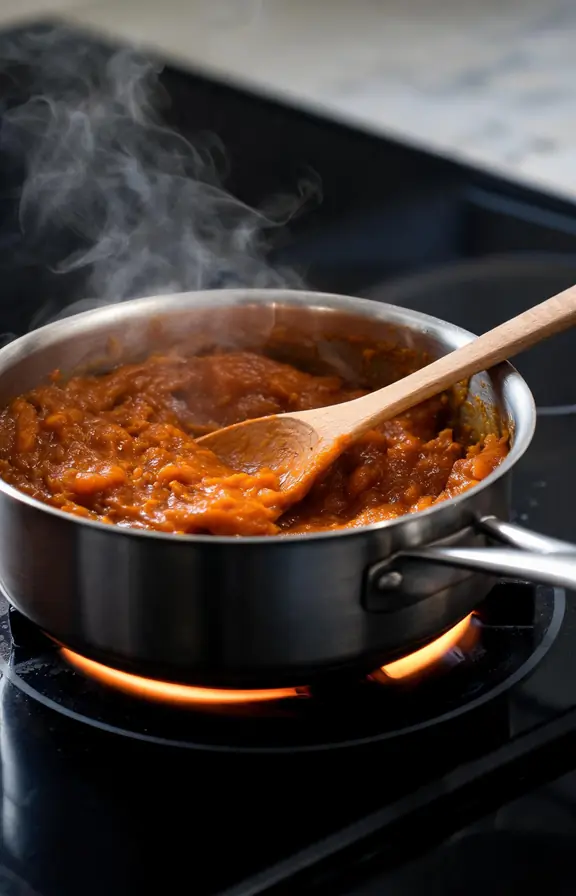
Heating the puree with your spices also blooms their essential oils, which pulls more flavor out of the same amount of cinnamon, ginger, and cloves without needing to add more.
This recipe reduces the puree with the brown sugar and spices directly in the pan, so that step also acts as your spice bloom. No extra bowl or extra step is required beyond five minutes at the stove.
Getting the Crumb Topping Right: Cold Butter vs Melted Butter
Streusel is simple in theory, but the fat temperature makes or breaks the final texture. Cold butter, cut into the dry ingredients, coats individual flour particles in fat and creates distinct, craggy crumbs.
Those crumbs hold their shape in the oven instead of melting flat. Melted butter, by contrast, saturates the flour evenly and tends to bake into a flatter, denser layer that can sink slightly into the batter below.
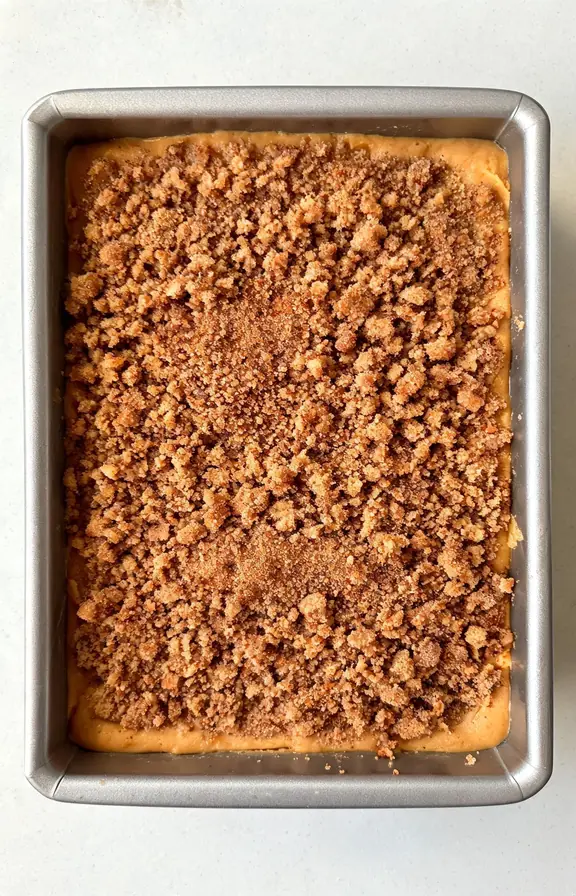
A reliable ratio to remember is equal parts flour and brown sugar, with half that amount of cold butter by volume. That balance gives you streusel that clumps into pea sized crumbs instead of turning either sandy or greasy.
Why the Center Sometimes Sinks (and How Pan Choice Changes Everything)
A sunken center almost always traces back to underbaking, not bad luck. Dense, moist batters like this one need a fully set structure before you can trust a toothpick test.
Pan material matters more than most bakers expect. Light colored metal pans conduct heat evenly and bake the edges and center at a similar pace.
Glass and dark metal pans absorb and hold more heat, which can dry out the edges while the center is still catching up. If you only own a glass pan, drop your oven temperature by 15 degrees and check the center a few minutes early.
Frequently Asked Questions
Pumpkin Coffee Cake
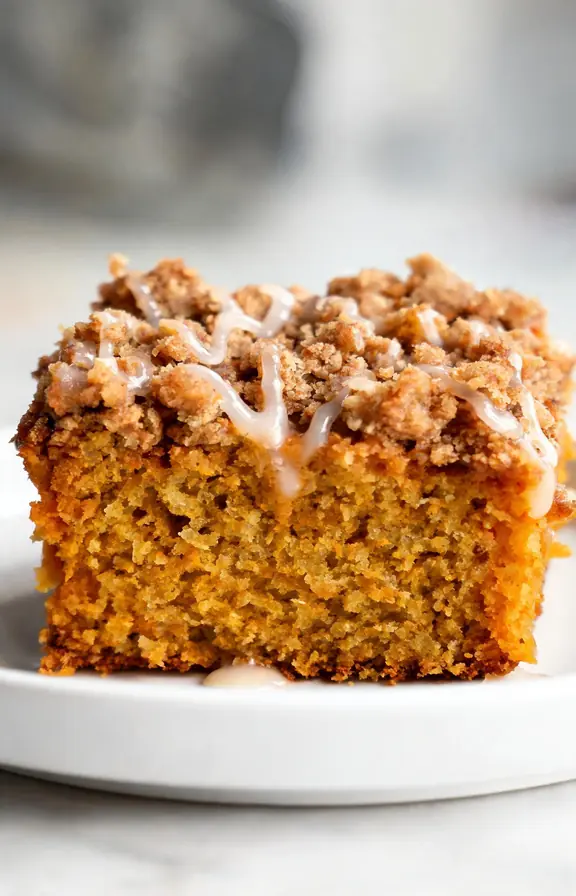
A moist, richly spiced pumpkin cake made with reduced puree for real pumpkin flavor, finished with a crisp cinnamon streusel and a simple vanilla glaze.
- 9×13-inch light colored metal baking pan
- Medium saucepan
- Large mixing bowl
- Whisk and rubber spatula
- Pastry cutter or fork
- Kitchen scale (recommended)
- 425g (15 oz can) pure pumpkin puree
- 100g (1/2 cup) packed brown sugar
- 2 teaspoons pumpkin pie spice
- 1/2 teaspoon ground cinnamon
- 300g (2 1/2 cups) all-purpose flour
- 2 teaspoons baking powder
- 1/2 teaspoon baking soda
- 1/2 teaspoon fine sea salt
- 120ml (1/2 cup) vegetable oil
- 2 large eggs, room temperature
- 120ml (1/2 cup) whole milk, room temperature
- 1 teaspoon vanilla extract
- 150g (3/4 cup) granulated sugar
- 125g (1 cup) all-purpose flour
- 110g (1/2 cup) packed brown sugar
- 1 tablespoon ground cinnamon
- 1/4 teaspoon fine sea salt
- 85g (6 tablespoons) cold unsalted butter, cubed
- 90g (3/4 cup) powdered sugar
- 2 tablespoons milk
- 1/2 teaspoon vanilla extract
- Reduce the pumpkin In a medium saucepan over medium heat, combine the pumpkin puree, brown sugar, pumpkin pie spice, and cinnamon. Cook, stirring often, for 5 to 7 minutes, until the mixture darkens slightly and pulls away from the sides of the pan. Remove from heat and let cool for 10 minutes.
- Make the streusel Whisk together the flour, brown sugar, cinnamon, and salt in a medium bowl. Cut in the cold cubed butter using a pastry cutter or fork until the mixture forms coarse, pea sized crumbs. Refrigerate while you prepare the batter.
- Preheat and prep the pan Preheat the oven to 350°F (175°C). Grease a 9×13-inch light colored metal pan and line it with parchment paper, leaving an overhang on two sides.
- Mix the dry ingredients Whisk together the flour, baking powder, baking soda, and salt in a medium bowl. Set aside.
- Combine the wet ingredients In a large bowl, whisk together the oil, eggs, milk, vanilla, and granulated sugar until smooth. Whisk in the cooled reduced pumpkin mixture until fully combined.
- Combine wet and dry Add the dry ingredients to the wet ingredients. Fold gently with a rubber spatula just until no streaks of flour remain. Do not overmix, or the crumb will turn tough.
- Assemble and bake Pour the batter into the prepared pan and spread it evenly. Sprinkle the chilled streusel evenly over the top, breaking up any large clumps with your fingers. Bake for 40 to 45 minutes, until a toothpick inserted into the center comes out fully clean and the top springs back when touched gently.
- Cool the cake Cool the cake in the pan on a wire rack for at least 30 minutes before glazing. The center needs this time to finish setting fully.
- Glaze and serve Whisk together the powdered sugar, milk, and vanilla extract until smooth. Drizzle over the cooled cake, slice into 12 squares, and serve.
Nutritional values are estimates calculated using standard USDA food composition data. Actual values will vary based on exact ingredient brands and slice size.