Our site contains ads and uses Amazon affiliate links. We may earn a small commission at no extra cost to you. We know ads can be distracting, and we’re sorry for any inconvenience they cause. It helps us keep the site running. Thanks for your understanding and supporting us!
Almost every pumpkin cream cheese muffin recipe has the same flaw. The filling tastes great, but it ends up as a heavy layer stuck to the paper liner instead of a swirl through the center.
That is not bad luck. It is basic food science, and it is fixable with one small ingredient swap in the filling itself.
This recipe walks through the mechanics behind every step:
- why cream cheese filling sinks during baking,
- the exact stabilizer that fixes it,
- why canned pumpkin moisture content changes your crumb,
- and how to actually test doneness on a muffin with a soft center.
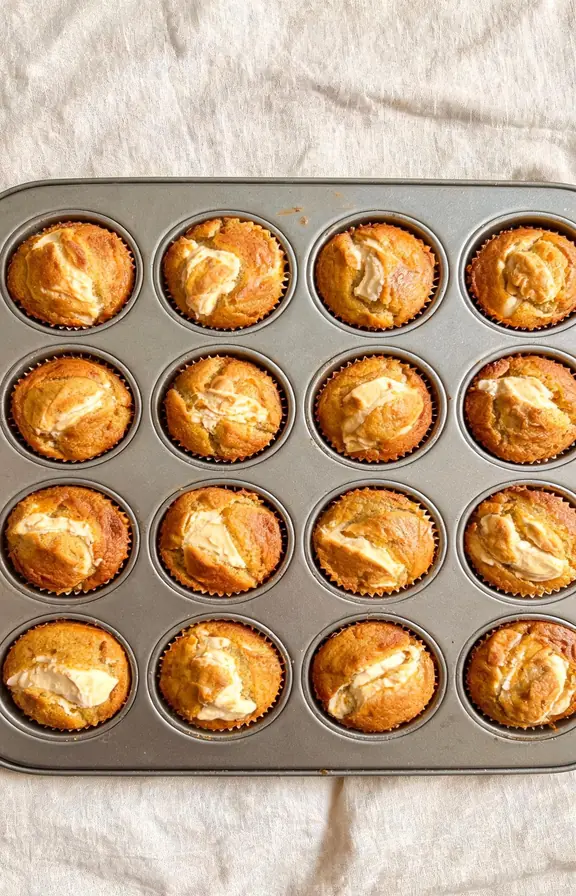
Why Pumpkin Cream Cheese Muffins Sink in the Middle
Cream cheese is mostly fat and water held together by a thin protein network. That network is weak on its own.
Below about 150°F, the fat in cream cheese behaves almost like a liquid. Your muffin batter around it is already setting into a solid crumb by that point, because starch and egg proteins in the batter firm up faster than the cream cheese does.
The result is a dense pocket of half-melted filling sitting inside a structure that has already hardened. Gravity does the rest, and the filling slides toward the bottom of the liner before the whole muffin finishes baking.
The Density Fix: Stabilizing Cream Cheese Filling So It Actually Stays Put
Professional bakers solve this the same way they solve a runny cheesecake batter. They add a small amount of flour and an egg yolk to the cream cheese mixture.
The flour absorbs excess moisture and raises the temperature at which the filling sets. The egg yolk adds lecithin, a natural emulsifier that helps bind the fat and water together so the filling holds its shape instead of separating.
Together, these two additions mean the filling firms up at nearly the same rate as the batter surrounding it, instead of lagging behind and sinking.
Canned Pumpkin Moisture: Why It Changes Your Crumb
Not all canned pumpkin is the same. Moisture content varies noticeably between brands, and that moisture directly affects how your batter bakes.
Too much liquid in the puree and your muffins turn gummy in the center, even with a perfect bake time. This has nothing to do with your oven and everything to do with the can.
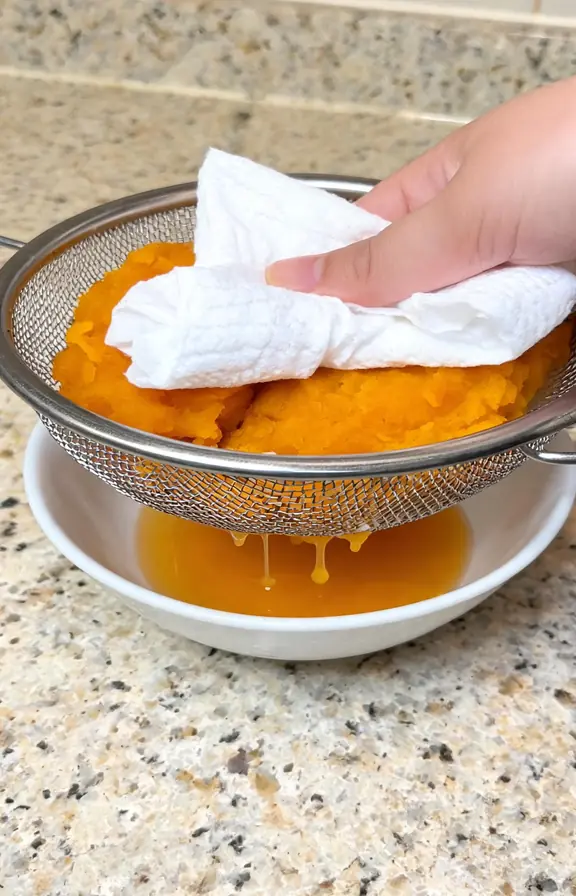
If your puree looks watery or separates in the can, blot it. Spread it on a few layers of paper towel for five minutes and press gently to draw out surface moisture before measuring.
Always confirm the label says 100% pure pumpkin, not pumpkin pie filling. Pie filling already contains sugar and spices, which throws off both the sweetness and the moisture balance of this recipe.
Layer, Swirl, or Dollop: Which Filling Method Holds Best
This comparison rarely gets a real answer in other pumpkin muffin recipes, but the method you choose changes the outcome more than people expect.
Dollop on top: fastest method, but the filling sits exposed and browns quickly, sometimes before the muffin center finishes baking.
Swirl with a knife: looks pretty in photos, but it spreads the filling thin, so you get streaks of cream cheese flavor instead of a defined pocket.
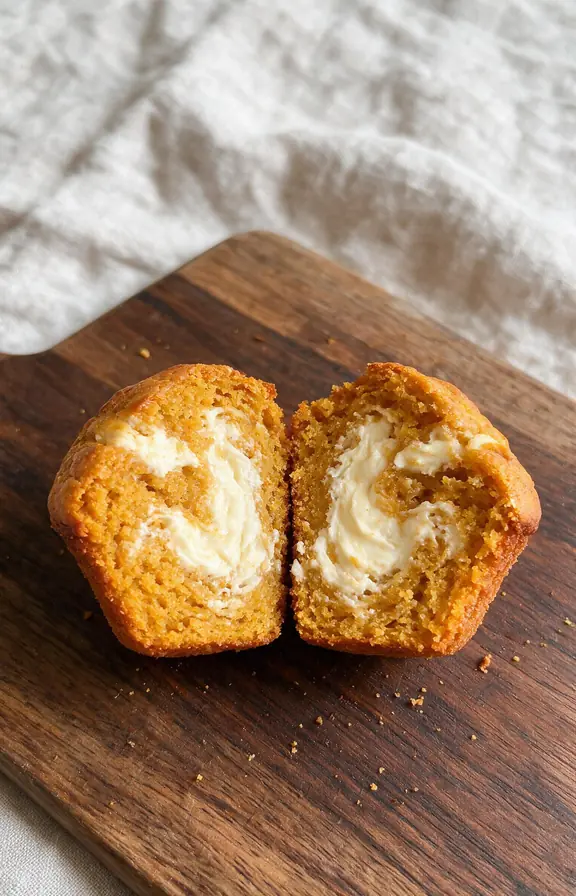
Layer inside the batter: batter on the bottom, filling in the middle, batter on top. This traps the filling fully inside the crumb, which is the method used in this recipe and the reason the center stays a distinct, creamy layer instead of a thin streak.
How to Test Doneness on a Filled Muffin (Because a Toothpick Lies)
A standard toothpick test does not work well here. If you hit the cream cheese pocket, the toothpick will always look wet, even when the muffin is fully baked.
Instead, insert the toothpick at an angle, off to the side of center, so it passes through pumpkin batter and misses the filling pocket entirely.
How to Freeze and Reheat Pumpkin Cream Cheese Muffins
These muffins freeze well once fully cooled, which makes them a solid make-ahead breakfast option.
Cool the muffins completely on a wire rack first. Warm muffins trap steam in a freezer bag, and that steam turns the cream cheese pocket gummy after thawing.
Wrap each muffin individually in plastic wrap, then store in a freezer bag for up to two months. Because of the dairy filling, avoid leaving these at room temperature for more than a day. Refrigerate instead if you are not freezing them.
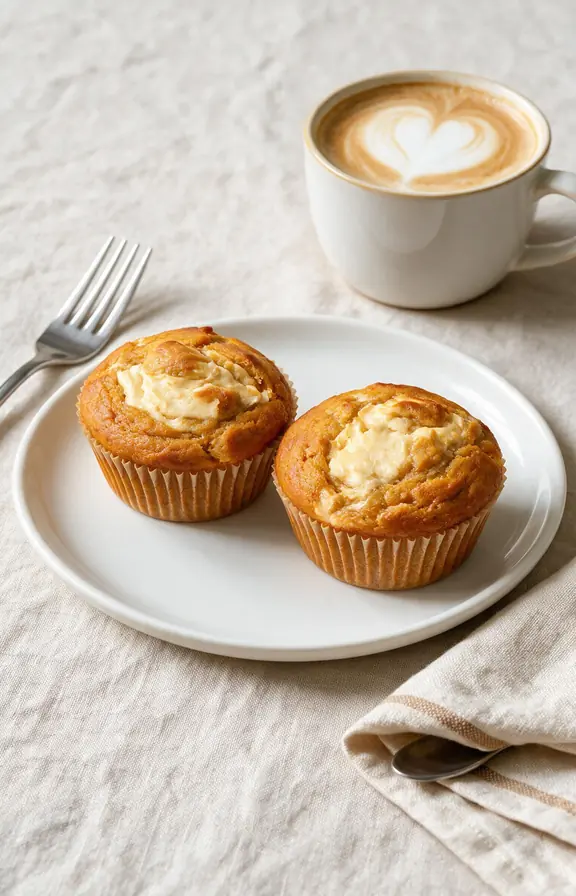
To reheat, unwrap a frozen muffin and microwave for 30 to 40 seconds, or let it thaw in the refrigerator overnight. Avoid the oven for reheating, since dry heat can make the cream cheese center separate.
Frequently Asked Questions
Pumpkin Cream Cheese Muffins
Soft, spiced pumpkin muffins with a stabilized cream cheese filling layered through the center. Chilling and a small flour-and-yolk fix keep the filling from sinking to the bottom.
- 12-cup muffin tin
- Paper muffin liners
- Two mixing bowls
- Hand mixer or stand mixer
- Kitchen scale (recommended for accuracy)
- Cookie scoop
- Fine mesh strainer and paper towel (for draining pumpkin puree if needed)
- 8 oz (226g) full-fat block cream cheese, room temperature
- 1/4 cup (30g) powdered sugar
- 1 tablespoon (8g) all-purpose flour
- 1 large egg yolk
- 1/2 teaspoon vanilla extract
- 1 3/4 cups (220g) all-purpose flour
- 1 teaspoon (5g) baking soda
- 1/2 teaspoon (2g) baking powder
- 1 1/2 teaspoons pumpkin pie spice
- 1/2 teaspoon ground cinnamon
- 1/2 teaspoon (3g) fine sea salt
- 1 cup (240g) pure pumpkin puree
- 2/3 cup (135g) granulated sugar
- 1/3 cup (65g) packed light brown sugar
- 1/2 cup (120ml) vegetable oil
- 2 large eggs, room temperature
- 1 teaspoon vanilla extract
- 2 tablespoons turbinado sugar
- 2 tablespoons pepitas
- Make and chill the stabilized filling Beat the cream cheese alone for about 1 minute until smooth. Add the powdered sugar, flour, egg yolk, and vanilla, and beat just until combined, about 30 seconds more. Do not overbeat, since this loosens the structure. Cover and refrigerate for 15 to 20 minutes while you make the batter. This chilling step is what keeps the filling from sinking during baking.
- Preheat and prep the pan Preheat the oven to 375°F (190°C). Line a 12-cup muffin tin with paper liners.
- Whisk the dry ingredients In a medium bowl, whisk together the flour, baking soda, baking powder, pumpkin pie spice, cinnamon, and salt. Set aside.
- Whisk the wet ingredients In a large bowl, whisk together the pumpkin puree, granulated sugar, and brown sugar until smooth. Whisk in the oil, eggs, and vanilla until fully combined and glossy.
- Combine batter Add the dry ingredients to the wet ingredients. Fold gently with a spatula just until no dry streaks remain. The batter should look slightly lumpy. Overmixing at this stage develops gluten and makes the muffins tough.
- Layer the muffins Spoon a small layer of pumpkin batter into each liner, filling about one-third full. Add about 1 tablespoon of chilled cream cheese filling to the center of each. Top with the remaining batter until each liner is about three-quarters full, fully covering the filling.
- Add the topping and bake Sprinkle turbinado sugar and pepitas over each muffin if using. Bake for 20 to 22 minutes. Test doneness by inserting a toothpick off to the side of center, through the pumpkin batter rather than the filling pocket. It should come out clean or with a few moist crumbs.
- Cool before serving Let the muffins cool in the tin for 5 minutes, then transfer to a wire rack. Allow at least 15 minutes of cooling before serving so the filling finishes setting.
Nutritional values are estimates calculated using standard USDA food composition data. Actual values will vary based on specific brands used, exact muffin size, and how much filling ends up in each one.