Our site contains ads and uses Amazon affiliate links. We may earn a small commission at no extra cost to you. We know ads can be distracting, and we’re sorry for any inconvenience they cause. It helps us keep the site running. Thanks for your understanding and supporting us!
Recipe at a Glance
- Prep Time: 30 minutes
- Cook Time: 25 minutes
- Total Time: 55 minutes
- Servings: 8-10 servings
- Diet Type: Vegetarian
- Cuisine: American
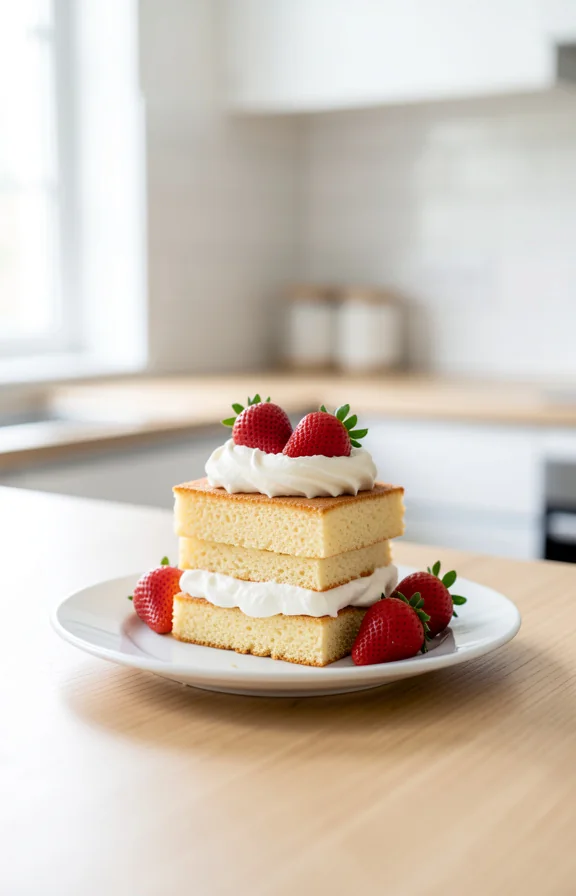
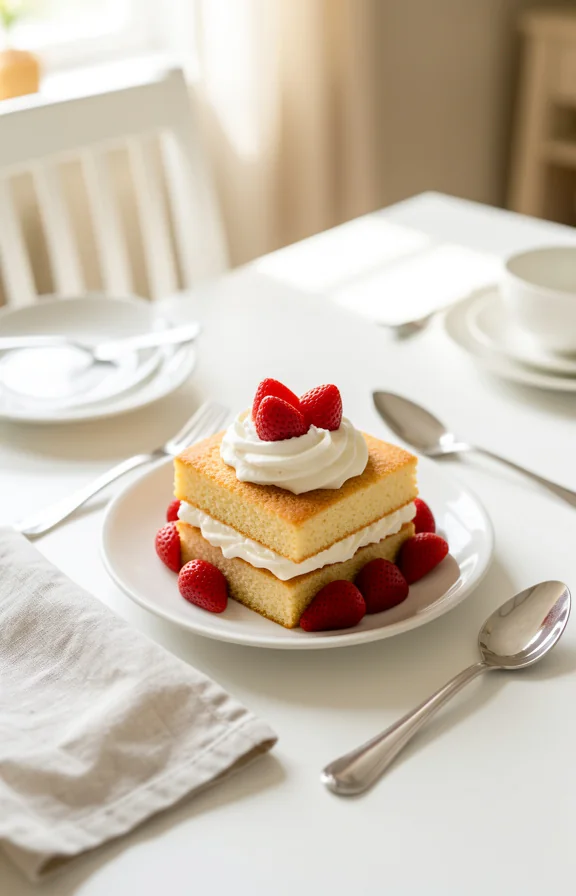
Imagine biting into a cloud-like sponge cake layered with billowing whipped cream and jewel-bright strawberries that burst with summer sweetness on your tongue.
Your homemade strawberry shortcake will rival any bakery version, yet it costs a fraction of the price.
This classic dessert intimidates many home bakers, but the secret is simpler than you think.
With the right technique and fresh ingredients, you’ll create a showstopping cake that your family will beg you to make again and again.
The tender, fluffy cake paired with silky whipped cream and vibrant berries creates pure dessert magic on every plate.
Why This Recipe Stands Out
- The cake uses a light sponge method that creates an airy, delicate crumb that absorbs whipped cream without becoming soggy.
- Fresh, macerated strawberries release their natural juices to create a subtle sauce that flavors every layer.
- Room-temperature ingredients blend more smoothly, resulting in a tender cake with superior texture.
- The recipe requires no special equipment or advanced baking skills, making it accessible to beginners.
- Real whipped cream beats store-bought alternatives in both flavor and luxurious mouthfeel.
Tips for Success
- Use fresh, ripe strawberries at peak season for maximum flavor and juiciness.
- Macerate your strawberries with sugar at least 30 minutes before assembly to release their natural juices.
- Bring all eggs and dairy to room temperature before mixing for a smoother, more homogeneous batter.
- Fold the dry ingredients gently into the wet mixture using a rubber spatula to maintain the airiness you’ve built.
- Whip your heavy cream until soft peaks form, not stiff peaks, so it remains light and fluffy between the cake layers.
- Assemble your cake no more than 2 hours before serving to prevent the cake from becoming overly moist.
- Use a serrated knife dipped in hot water to slice the cooled cake for clean, even layers.
Common Mistakes to Avoid
- Overmixing the batter develops gluten and creates a tough, dense cake instead of the desired tender crumb.
- Using cold ingredients slows mixing time and can result in an unevenly combined batter with lumps.
- Skipping the maceration step means your strawberries stay dry and your cake lacks that signature juicy flavor.
- Whipping cream until stiff peaks rob it of its delicate, mousse-like quality.
- Assembling the cake too far in advance causes the cake layers to absorb excess moisture and become waterlogged.
- Overbaking the cake layers by even a few minutes dries them out and makes them crumbly.
- Skipping the cooling step and assembling a warm cake melts the whipped cream and destabilizes the structure.
Creative Serving Ideas
- Layer individual shortcakes in clear glass cups or mason jars for a rustic, picnic-style presentation.
- Top each slice with a fresh mint leaf and a light dusting of powdered sugar for an elegant touch.
- Drizzle the plate with strawberry coulis or a light berry reduction for restaurant-quality plating.
- Serve alongside a small scoop of vanilla ice cream for a warm-weather variation.
- Create a shortcake bar where guests customize their servings with different toppings and berries.
- Crumble leftover cake and layer it with whipped cream and berries for a delicious trifle.
Frequently Asked Questions
Can I Make This Cake Ahead of Time?
You can bake the cake layers 1 day ahead and store them wrapped at room temperature.
However, you should assemble the complete cake no more than 2 hours before serving to keep it from becoming soggy.
The whipped cream layer is what absorbs moisture most quickly, so timing that assembly is crucial for the best texture.
What Type of Strawberries Work Best?
Fresh, locally-grown strawberries at peak season deliver the most intense flavor and natural sweetness.
Avoid large, watery berries from the grocery store when possible, as they lack the concentrated flavor of smaller, farmer’s market varieties.
If fresh berries are unavailable, frozen strawberries that you thaw and macerate can work in a pinch.
Can I Use Whipped Cream From a Can?
While convenient, canned whipped cream contains stabilizers and additives that give it an artificial texture and taste.
Real whipped heavy cream transforms this dessert into something truly special and takes only 3 minutes to prepare.
If you must use canned, choose brands with the fewest ingredients for the best flavor.
How Do I Store Leftover Cake?
Store any assembled leftover cake in an airtight container in the refrigerator for up to 1 day.
The cake will continue absorbing moisture from the whipped cream and strawberries, so eat it as soon as possible for the best texture.
Plain baked cake layers keep for 2 days at room temperature when wrapped tightly.
Can I Substitute the Cake Flour?
All-purpose flour will work but produces a slightly denser crumb than the delicate texture cake flour provides.
If using all-purpose flour, reduce the amount by 2 tablespoons per cup since all-purpose has more protein.
Avoid self-rising flour as it contains salt and leavening agents that will throw off your recipe’s balance.
What’s the Difference Between Shortcake and Sponge Cake?
Traditional shortcake uses a biscuit-like dough similar to scones, while this recipe uses a light sponge cake that’s airier and more tender.
The sponge cake version has become the modern favorite because it absorbs the strawberry juices beautifully without crumbling.
Both styles are delicious, but the sponge approach yields more consistent results for home bakers.
Ingredients You’ll Need
- 2 cups all-purpose flour
- 1 3/4 teaspoons baking powder
- 1/2 teaspoon salt
- 6 large eggs, separated
- 3/4 cup granulated sugar, divided
- 1/3 cup fresh lemon juice
- 1 teaspoon vanilla extract
- 2 pounds fresh strawberries, hulled and sliced
- 1/4 cup granulated sugar (for maceration)
- 2 cups heavy whipping cream
- 3 tablespoons powdered sugar
- 1 teaspoon vanilla extract (for whipped cream)
Tools to Use
- Two 9-inch round cake pans
- Parchment paper
- Mixing bowls
- Electric mixer
- Measuring cups and spoons
- Sifter
- Rubber spatula
- Wire whisk
- Serrated bread knife
- Cake cooling racks
- Cutting board
- Glass serving plate or cake stand
How to Make the Strawberry Shortcake Cake
Step-1: Prepare Your Workspace
Preheat your oven to 350 degrees Fahrenheit.
Line two 9-inch round cake pans with parchment paper and lightly grease the bottoms and sides.
Bring all your eggs and cream to room temperature by removing them from the refrigerator 30 minutes before baking.
Step-2: Macerate the Strawberries
Hull and slice your fresh strawberries into 1/4-inch thick pieces.
Toss the sliced berries in a large bowl with 1/4 cup granulated sugar.
Set aside at room temperature for at least 30 minutes to allow the strawberries to release their natural juices and create a light syrup.
Step-3: Combine Dry Ingredients
Sift the flour, baking powder, and salt together into a medium bowl.
Set the mixture aside and let it sit for a minute to fully aerate.
This step is crucial because it incorporates air into the dry ingredients and removes any lumps.
Step-4: Create the Egg Yolk Mixture
Separate your eggs carefully, ensuring no yolk gets into the whites.
In a large mixing bowl, combine the 6 egg yolks with 3/4 cup granulated sugar.
Beat on medium-high speed for about 3 minutes until the mixture is pale yellow and thick enough that ribbons form when you lift the beaters.
Add the lemon juice and 1 teaspoon vanilla extract and beat until fully combined.
Step-5: Fold in the Dry Ingredients
Gently fold the flour mixture into the egg yolk mixture using a rubber spatula.
Use a folding motion, turning the bowl slightly with each fold, until the flour is just barely incorporated and no white streaks remain.
Do not overmix or you will deflate the batter and create a dense cake.
Step-6: Whip the Egg Whites
In a clean, dry bowl, beat the 6 egg whites on medium-high speed until soft peaks form.
The whites should look foamy and increase in volume about three times.
This aeration is what creates the signature light, fluffy texture of sponge cake.
Step-7: Fold in the Egg Whites
In three additions, gently fold the whipped egg whites into the batter using a rubber spatula.
With each addition, fold until just combined, being careful not to deflate the whites.
The final batter should look airy and light with no streaks of white egg white remaining.
Step-8: Divide Batter Between Pans
Divide the batter evenly between the two prepared cake pans.
Gently level the tops by tapping the pans lightly on the counter.
Avoid pressing down on the batter as this will deflate your cake.
Step-9: Bake the Cake Layers
Place both pans in the preheated 350-degree oven for 22-25 minutes.
The cakes are done when a toothpick inserted in the center comes out clean and the tops are light golden brown.
Be careful not to overbake as this dries out the delicate sponge.
Step-10: Cool the Cakes
Remove the cake pans from the oven and let them cool in the pans for 10 minutes.
Then, run a thin knife around the edges of each cake to loosen it from the pan.
Turn the cakes out onto wire cooling racks and allow them to cool completely at room temperature for at least 1 hour.
Step-11: Whip the Heavy Cream
When ready to assemble, pour 2 cups of heavy whipping cream into a large chilled bowl.
Beat on medium speed until soft peaks form, about 2-3 minutes.
Add 3 tablespoons powdered sugar and 1 teaspoon vanilla extract and continue beating until fully incorporated, being careful not to overbeat.
Step-12: Level the Cake Layers
Using a serrated knife dipped in hot water, carefully slice each cooled cake layer horizontally to create four thin layers total.
Wipe the knife with a damp cloth between each cut for clean edges.
This creates more surface area for the whipped cream and strawberries.
Step-13: Assemble the Shortcake
Place the first cake layer on your serving plate or cake stand.
Spread a thin layer of whipped cream over the cake.
Top with a layer of macerated strawberries and some of their juices.
Repeat with the remaining cake layers, cream, and strawberries.
Top the final layer with whipped cream and arrange fresh strawberries on top for garnish.
Step-14: Chill and Serve
Refrigerate the assembled cake for 15-30 minutes before serving to help it set.
Use a serrated knife dipped in hot water to slice.
Serve immediately while the cake is still cool and the whipped cream is fluffy.
Nutritional Information
- Calories: 385 per serving
- Protein: 6g
- Total Fat: 18g
- Saturated Fat: 11g
- Carbohydrates: 50g
- Fiber: 2g
- Sugar: 38g
- Sodium: 95mg
- Cholesterol: 165mg
Note: Nutritional values are approximate and may vary based on specific ingredient brands used.


