Our site contains ads and uses Amazon affiliate links. We may earn a small commission at no extra cost to you. We know ads can be distracting, and we’re sorry for any inconvenience they cause. It helps us keep the site running. Thanks for your understanding and supporting us!
📊Recipe at a Glance
- Prep Time: 15 minutes
- Cook Time: 5 minutes (for heat-treating flour)
- Total Time: 20 minutes
- Servings: 12 cupcakes
- Diet Type: Vegetarian
- Cuisine: American
You just pulled a beautiful batch of cupcakes out of the oven. They smell incredible. But the frosting?
Plain old buttercream feels like a letdown. You deserve something that makes people stop mid-bite and ask, “Wait, what IS this?”
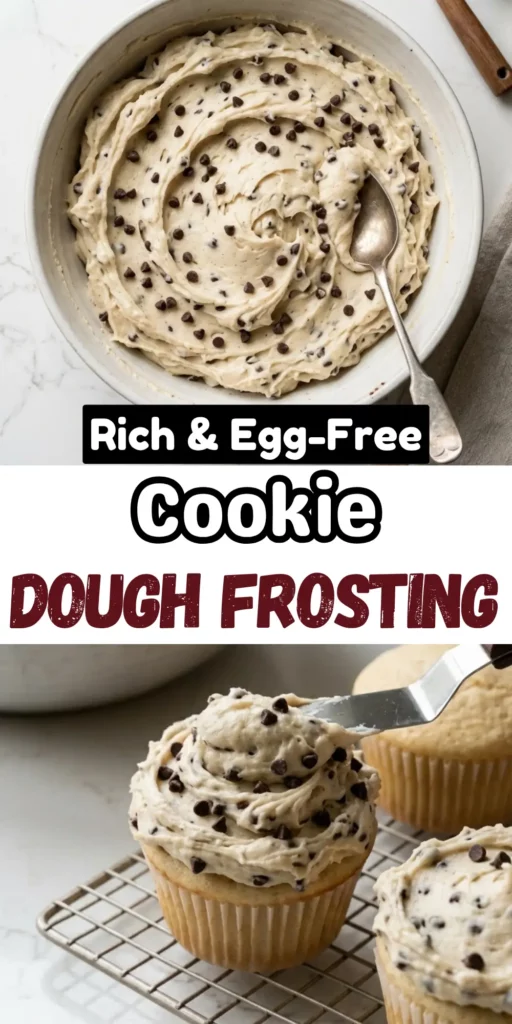
That is exactly what this cookie dough frosting does. It is rich, buttery, and loaded with brown sugar warmth.
It tastes just like sneaking raw dough from the bowl. Safe, simple, and completely unforgettable.
Why This Recipe Stands Out
- Safe to eat: Heat-treated flour removes any bacteria risk, so you can enjoy every spoonful without worry.
- No eggs needed: This recipe skips eggs entirely, making it simpler and safer.
- Ready in 20 minutes: From start to finish, this frosting comes together faster than most.
- Perfectly balanced sweetness: Brown sugar and a pinch of salt keep it from being cloying.
- Versatile texture: Thick enough to pipe, smooth enough to spread, this frosting works for any dessert.
- Loaded with chocolate chips: Mini chocolate chips in every bite deliver that classic cookie dough feel.
- Stores beautifully: It keeps well in the fridge for up to a week, so you can make it ahead.
Ingredients You’ll Need
For Heat-Treating the Flour:
- 2 tablespoons all-purpose flour
For the Frosting:
- 1 cup (2 sticks / 226g) unsalted butter, softened to room temperature
- ½ cup (100g) packed light brown sugar
- 1½ cups (180g) powdered sugar (confectioners’ sugar)
- 2 tablespoons all-purpose flour, heat-treated and cooled
- 1 teaspoon pure vanilla extract
- 3 to 4 tablespoons whole milk (add more for spreading consistency)
- ¼ teaspoon salt
- ½ cup (90g) mini chocolate chips
Tools to Use
- Stand mixer or electric hand mixer
- Large mixing bowl
- Silicone spatula
- Microwave-safe bowl or baking sheet
- Instant-read thermometer
- Measuring cups and spoons
- Piping bag and large round tip (optional)
- Cookie scoop or butter knife (for spreading)
How to Make the Cookie Dough Frosting
Step-1: Heat-Treat the Flour
Spread 2 tablespoons of all-purpose flour in a microwave-safe bowl.
Microwave in 15-second bursts, stirring between each, until the flour reaches 160°F (70°C) on an instant-read thermometer.
Alternatively, spread the flour on a parchment-lined baking sheet and bake at 350°F (175°C) for 5 to 7 minutes.
Set the flour aside and let it cool completely before using.
This step is non-negotiable. Raw flour can be a carrier of E. coli unless it goes through a heating process to kill the bacteria.
Do not skip it or rush it.
Step-2: Beat the Butter
Place the softened butter in a large bowl.
Using a stand mixer or hand mixer fitted with the paddle attachment, beat the butter on medium speed for 3 minutes.
You want it light, pale, and completely smooth before adding anything else.
Properly creamed butter is the foundation of a fluffy, luscious frosting.

Step-3: Add the Sugars
Add the packed light brown sugar to the creamed butter.
Mix on medium-high speed for 2 to 3 minutes until the mixture is well combined and fluffy.
Now add the powdered sugar all at once.
Beat on low speed for 15 seconds to prevent a sugar cloud, then increase to medium-high.
Beat for another 2 to 3 minutes until light and airy.
Step-4: Add Flour, Vanilla, Salt, and Milk
Add the cooled, heat-treated flour to the bowl.
Add the vanilla extract and salt.
Beat on medium speed until everything is just combined.
Now add the milk one tablespoon at a time, beating after each addition.
If the frosting will be used in a layer cake, doubling the milk achieves a much creamier and smoother frosting that is far easier to spread.
For cupcakes, use less milk for a thicker, scoopable consistency.
Stop adding milk once you reach your desired texture.
Step-5: Fold in the Chocolate Chips
Remove the bowl from the mixer.
Using a silicone spatula, gently fold in the mini chocolate chips by hand.
Mini chips are preferred here because they fold in evenly and will not clog a piping tip the way full-sized chips would.
Give the frosting a final gentle stir to make sure the chips are evenly distributed throughout.
Step-6: Frost Your Desserts
Use the frosting immediately for the best results.
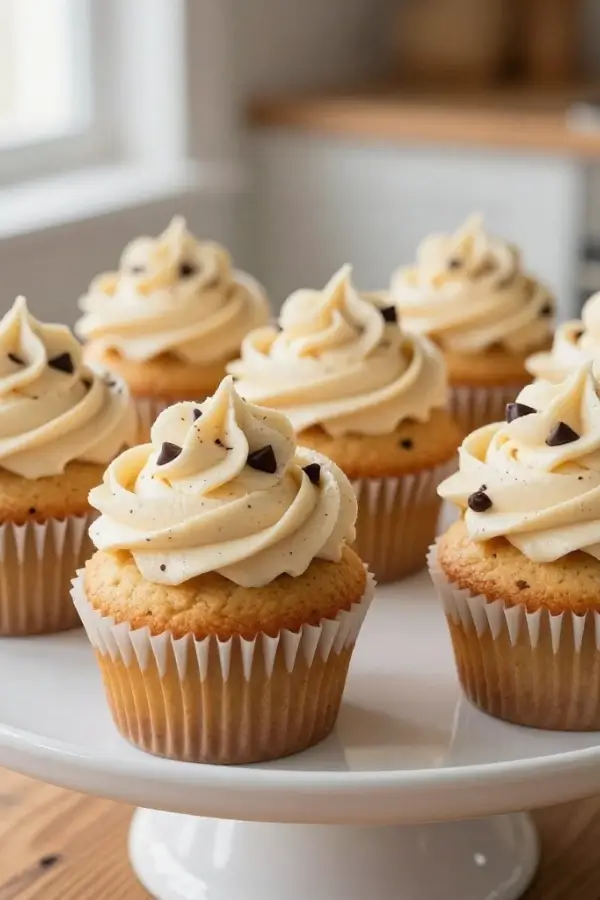
Pipe it onto cupcakes using a large round piping tip for tall, dramatic swirls.
Alternatively, use a large cookie scoop to drop a generous, rustic dollop right on top.
Spread it over cakes, brownies, or cookies with a butter knife or offset spatula.
Place the frosted cupcakes in the fridge for 1 to 2 hours to allow the frosting to firm up, which gives it a thicker, more authentic cookie dough texture.
Related Recipes You’ll Love to Try
- German Chocolate Cake Frosting: Coconut Pecan Classic for Special Occasions
- Ermine Frosting: The Silky, Old-Fashioned Buttercream You Need to Try
- Foolproof Silky Cream Cheese Frosting for Cakes and Cupcakes
- Easy Whipped Cream Frosting Recipe That Holds Its Shape All Day
Nutritional Information
Estimated per serving (1 cupcake’s worth of frosting), based on 12 servings.
| Nutrient | Amount |
|---|---|
| Calories | ~290 kcal |
| Protein | 2g |
| Fat | 16g |
| Carbohydrates | 36g |
| Sodium | 65mg |
Note: Values are estimates and will vary based on specific ingredients and quantities used.
Tips for Success
- Use room-temperature butter: Cold butter will not cream properly and will leave you with a lumpy, dense frosting.
- Let the flour cool fully: Adding warm flour to butter will melt it and ruin the texture of your frosting.
- Use mini chocolate chips: Regular-sized chips are too large to pipe and can make spreading difficult.
- Add milk gradually: Pour milk in one tablespoon at a time. You can always add more but cannot take it back.
- Beat long enough: Do not rush the creaming step. More air means a lighter, fluffier result.
- Taste as you go: Adjust salt and vanilla to your personal preference before folding in the chips.
- Make it ahead: This frosting stores well. Make it the night before to save time on the day of serving.
Common Mistakes to Avoid
- Skipping the flour heat treatment: This is a food safety step. Raw flour carries real risks. Always treat it before using.
- Using cold butter: Cold butter will not cream and will leave you with a dense, uneven frosting.
- Adding too much milk at once: Too much liquid too fast will make the frosting runny and difficult to fix.
- Using dark brown sugar without adjustment: Using all dark brown sugar would make the frosting sweeter than preferred; a mix of light and dark gives a more balanced, authentic cookie dough color and flavor.
- Piping with large chocolate chips: Large chips will clog the piping tip. Stick to mini chips or chop them up first.
- Not scraping down the bowl: Pockets of unincorporated butter or sugar hide at the sides and bottom. Scrape often for a uniform frosting.
- Frosting warm cupcakes: Always let baked goods cool completely before frosting or the frosting will melt and slide right off.
Creative Serving Ideas
- Classic chocolate cupcakes: Pipe tall swirls of cookie dough frosting over rich chocolate cupcakes for a timeless crowd-pleaser.
- Vanilla sheet cake: Spread generously over a simple vanilla sheet cake for a weeknight dessert that feels special.
- Brownie topping: Spread a thick layer over fudgy brownies, then chill for an hour. Slice and serve for pure indulgence.
- Cookie sandwiches: Spread the frosting between two soft sugar cookies or chocolate chip cookies for a next-level treat.
- Graham cracker snack: Spread leftover frosting between two graham crackers for a quick, kid-friendly snack.
- Stuffed cupcakes: Pipe the frosting inside hollowed-out chocolate cupcakes before adding a second swirl on top for a hidden surprise.
- Dip for fruit: Serve a small bowl of frosting as a dip alongside apple slices or strawberries for a fun dessert platter.
Frequently Asked Questions
Is Cookie Dough Frosting Safe to Eat?
Yes, when made correctly, it is completely safe.
This recipe skips eggs entirely and uses heat-treated flour.
Both steps eliminate the main food safety concerns with traditional raw cookie dough.
How do I Heat-Treat Flour at Home?
You can microwave the flour in short bursts until it hits 160°F, or bake it on a sheet pan at 350°F for 5 to 7 minutes.
Use an instant-read thermometer to confirm the temperature.
Let it cool fully before adding it to your frosting.
Can I Make This Frosting Ahead of Time?
Absolutely.
Store it in an airtight container in the refrigerator for up to 5 days.
Before using, let it come to room temperature and re-beat briefly with a mixer to restore its fluffy consistency.
Can I Freeze Cookie Dough Frosting?
Yes, you can freeze this frosting for up to one month.
Store it in a zip-top freezer bag or airtight container.
Thaw it overnight in the refrigerator, then re-whip before using.
Can I Use This Frosting for Piping?
Yes, but use a large piping tip and mini chocolate chips only.
Standard-sized chocolate chips will clog smaller tips and make piping messy.
For intricate designs, fold in the chips after piping or sprinkle them on top.
What can I Use Instead of Whole Milk?
Heavy cream, 2% milk, or even a non-dairy milk like oat milk will work.
Keep in mind that thinner liquids like skim milk will make the frosting looser, so add less.
Heavy cream gives the richest, most indulgent texture.
Why is My Frosting Grainy?
Graininess usually comes from undissolved brown sugar.
Make sure you beat the butter and brown sugar together long enough, at least 2 to 3 minutes on medium-high.
For an ultra-smooth result, you can melt the brown sugar with a small splash of water first and let it cool before adding it to the butter.


