Our site contains ads and uses Amazon affiliate links. We may earn a small commission at no extra cost to you. We know ads can be distracting, and we’re sorry for any inconvenience they cause. It helps us keep the site running. Thanks for your understanding and supporting us!
Most homemade butter pie crusts fail for one of two reasons. The butter gets too warm before it hits the oven, so it melts into the flour instead of steaming inside it.
Or the dough gets overworked, which builds gluten and turns a tender pastry into something closer to a cracker.
Neither mistake is complicated to fix once you understand what butter is actually doing inside the dough.
This recipe breaks down the mechanics behind every step:
- why butter’s water content is the real source of flakiness, not the fat itself,
- why grating butter works better than cubing it for beginners,
- how your pie pan material changes how the bottom crust bakes,
- and exactly how to freeze extra dough so it rolls out like it was made fresh.
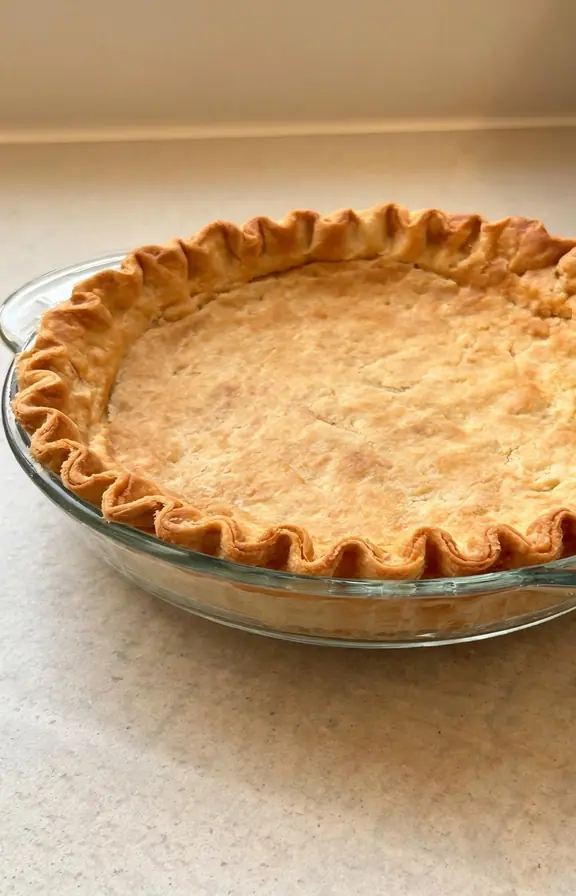
Why Butter Makes a Flakier Crust Than Shortening
Butter is roughly 80 percent fat and 16 to 18 percent water, with the rest made up of milk solids. That water is the part almost every recipe overlooks.
When cold, solid pieces of butter hit a hot oven, the water inside them converts instantly to steam. That steam pushes the surrounding dough apart into thin layers before the fat fully melts, and those separated layers are what you see and taste as flakiness.
Shortening has almost no water, so it produces a tender crust but not a flaky one. This recipe uses only butter, which means the water content is doing real structural work, not just adding flavor.
Grating Butter vs. Cubing Butter: Which Method Works Better
Most recipes tell you to cube cold butter and cut it into the flour with a pastry blender. That works, but it is easy to overwork by hand and end up with pieces that are too small or unevenly sized.
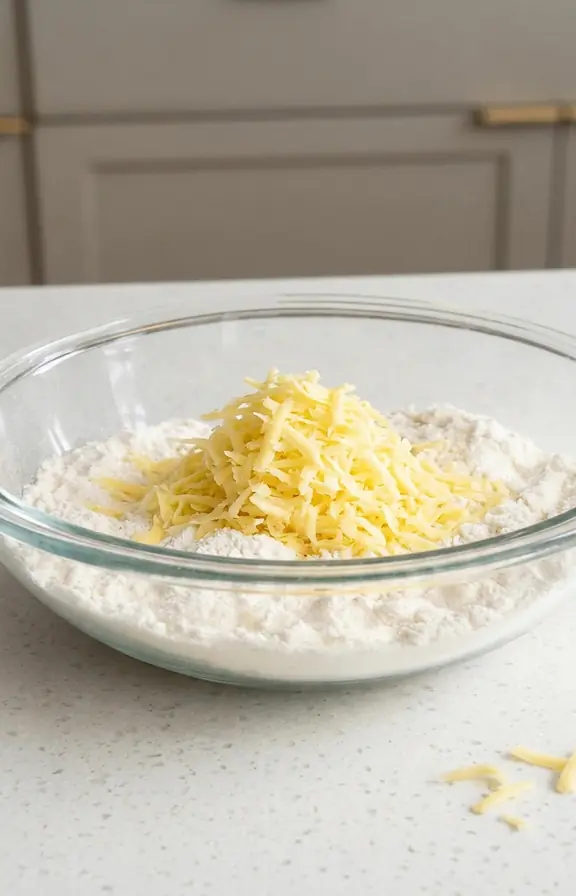
Grating frozen butter on the large holes of a box grater gives you long, thin ribbons of butter that are already close to the right size. It also keeps the butter colder for longer because your hands never have to press or squeeze it into place.
Toss the grated butter through the flour with a fork so each ribbon gets a light coating. This is the fastest way to get an even distribution of fat without a food processor, and it is especially useful if you do not own one.
The Fraisage Technique: The Step Most Home Bakers Skip
Fraisage is a French pastry technique where you smear small portions of shaggy dough across the counter with the heel of your hand. It sounds unnecessary, but it solves a real problem.
Simply cutting butter into flour leaves some ribbons of fat unevenly coated. Smearing the dough in short, one-inch strokes flattens those ribbons into thin sheets without fully blending them into the flour, which builds more distinct layers than cutting alone.
Do this once, gather the dough back into a rough pile, and stop. Overdoing the fraisage step warms the butter and defeats the purpose entirely.
Ice Water and Hydration: How Much Liquid Your Dough Actually Needs
Water activates gluten the moment it touches flour. Too much water means a tough crust, and too little means a dough that cracks and refuses to hold together when you roll it.
Add ice water one tablespoon at a time, tossing gently after each addition. Stop as soon as the dough holds together when you squeeze a handful, even if it still looks slightly shaggy in the bowl.
A tablespoon of apple cider vinegar or lemon juice added to the ice water is optional, but the acid slightly slows gluten formation, which gives you a little more margin for error while mixing.
Why Chilling the Dough Twice Actually Matters
The first chill, right after mixing, firms the butter back up after handling and lets the flour fully hydrate. Thirty minutes to two hours in the refrigerator is enough.
The second chill happens after you have shaped the dough into the pie pan and before it goes in the oven. This relaxes the gluten you built while rolling, which prevents the crust from shrinking down the sides as it bakes.
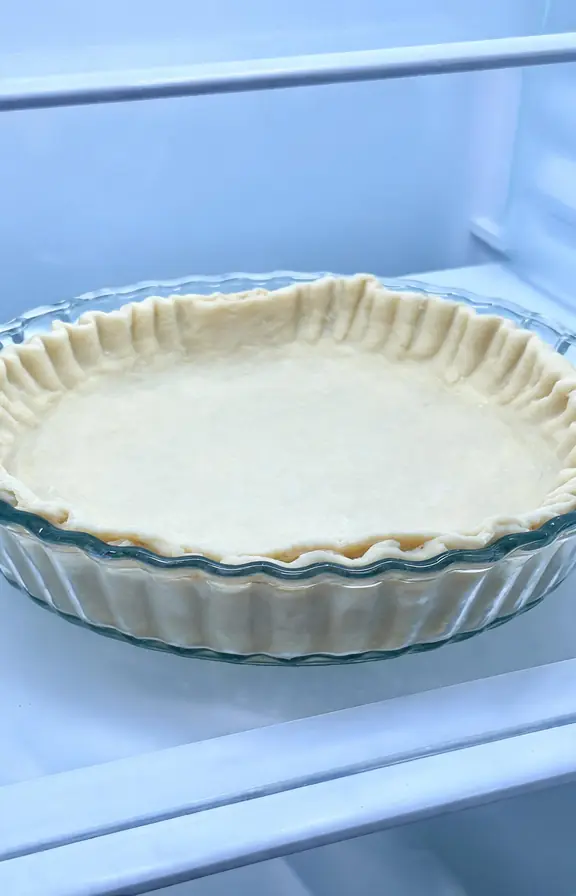
Skipping either chill is the single most common reason a homemade crust shrinks away from the pan edges. According to King Arthur Baking’s guidance on flaky pastry technique, resting the dough allows gluten to relax and fats to harden, both of which make the dough easier to roll without fighting back.
Glass vs. Metal vs. Ceramic: Which Pie Pan Bakes the Crispest Bottom Crust
This comparison rarely shows up in butter pie crust recipes, but pan material genuinely changes the result.
Glass pie dishes conduct heat evenly and let you see the bottom crust directly through the sides, so you can judge doneness without guessing. This makes glass the most reliable choice for beginners baking a butter crust for the first time.
Metal pans, especially dark or nonstick metal, heat up faster and produce a crisper, more deeply browned bottom crust. This matters most for custard or cream pies, where a soggy bottom is a real risk.
Ceramic pie dishes look beautiful and retain heat well once hot, but they take longer to heat up initially, which can leave the bottom crust pale if you do not preheat your baking sheet along with the oven.
Blind Baking Without a Soggy Bottom
Blind baking means pre-baking an empty crust before adding filling, which is essential for custard, cream, or lemon meringue pies that do not bake long enough on their own to fully cook the crust.
Line the chilled, shaped crust with parchment paper and fill it with pie weights or dried beans. This weight keeps the crust from puffing up and losing its shape while the structure sets.
Bake at 375°F for 20 to 25 minutes with the weights in place, then remove the weights and parchment and bake for another 8 to 10 minutes until the base looks dry and lightly golden, not wet or translucent.
How to Freeze Pie Dough: Raw Disks vs. Pre-Shaped Frozen Shells
Freezing raw dough disks is the most flexible option. Wrap each disk tightly in plastic wrap, then in a freezer bag, and it will keep for up to three months. Thaw overnight in the refrigerator before rolling.
Freezing a pre-shaped, unbaked crust already fitted into its pan saves you a rolling step later, which is useful around the holidays when you want pies ready to fill on short notice. Wrap the whole pan tightly and freeze flat until solid before bagging it.
The tradeoff is space. Frozen disks stack compactly in a freezer, while pre-shaped shells take up an entire pan’s worth of room until you bake them.
Egg Wash and the Edge That Holds Its Shape
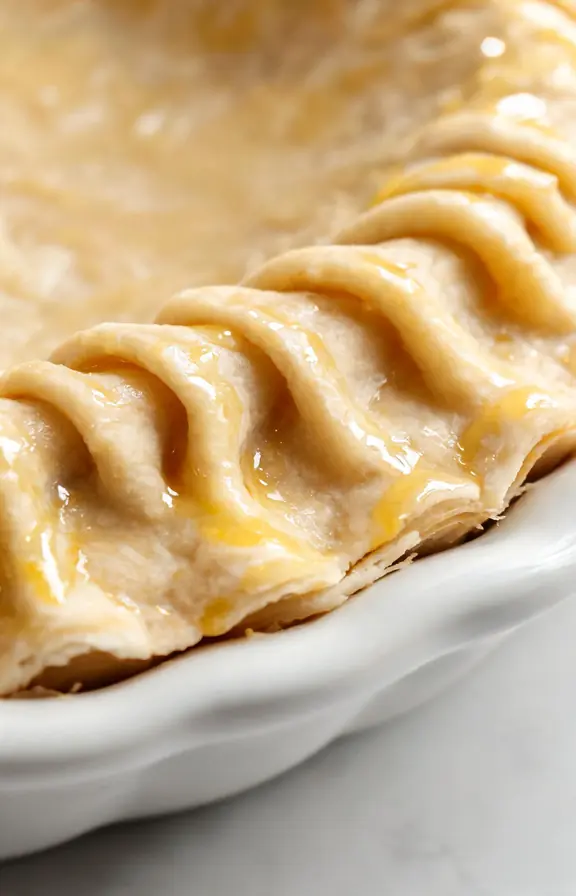
A wash of one egg beaten with a tablespoon of water gives the crust its deep golden color and a light shine. Apply it in one smooth pass right before baking so it does not pool in the crimped edges.
For the edge itself, fold the overhanging dough under itself before crimping so you are pinching two layers of dough, not one. A single layer of dough tends to slump and lose its shape as the butter melts during baking.
Frequently Asked Questions
All Butter Pie Crust
A flaky, shatter layered pie crust made with grated frozen butter, ice water, and a double chill. Enough dough for one double crust 9 inch pie or two single crusts.
- Box grater or pastry blender
- Large mixing bowl
- Kitchen scale (optional but recommended)
- 9 inch glass pie dish
- Rolling pin
- Plastic wrap
- Pie weights or dried beans
- Pastry brush (for egg wash)
- 2 1/2 cups (300g) all-purpose flour
- 1 tablespoon (12g) granulated sugar
- 1 teaspoon (6g) fine salt
- 1 cup (227g) unsalted butter, frozen
- 6 to 8 tablespoons (90-120ml) ice water
- 1 tablespoon (15ml) apple cider vinegar or lemon juice (optional)
- 1 large egg
- 1 tablespoon water or milk
- Chill your ingredients Freeze the butter for at least 20 minutes before starting. Fill a measuring cup with water and ice and let it sit while you prep everything else, so the water is fully cold by the time you need it.
- Combine the dry ingredients Whisk together the flour, sugar, and salt in a large mixing bowl until evenly combined.
- Grate the butter into the flour Using the large holes of a box grater, grate the frozen butter directly into the flour mixture. Toss gently with a fork after every few passes so the ribbons of butter get evenly coated in flour and stay separated.
- Add the ice water Drizzle in the ice water one tablespoon at a time, tossing with a fork after each addition. Stop adding water as soon as the mixture holds together when you squeeze a small handful, even if it still looks shaggy overall.
- Fraisage: smear the dough Turn the shaggy dough onto a lightly floured counter. Working in small handfuls, smear each portion away from you with the heel of your hand in a single one-inch stroke. Gather the dough back into a pile once you have smeared through all of it.
- Shape and chill Divide the dough in half and shape each half into a flat disk about 1 inch thick. Wrap each disk tightly in plastic wrap and refrigerate for at least 2 hours, or overnight for the best texture.
- Roll out the dough On a lightly floured surface, roll one disk from the center outward, rotating a quarter turn after every few passes, until you have a circle about 12 inches across and 1/8 inch thick.
- Fit into the pan and chill again Ease the dough into a 9 inch glass pie dish without stretching it. Trim, fold the overhang under itself, and crimp the edge. Refrigerate the shaped crust for at least 30 minutes before baking or blind baking.
- Bake For a filled pie, brush the edges with egg wash and bake according to your filling recipe, usually 375°F to 425°F. For blind baking, line the chilled crust with parchment and pie weights, bake at 375°F for 20 to 25 minutes, then remove the weights and bake 8 to 10 more minutes until golden and dry looking on the bottom.
Nutritional values are estimates calculated using standard USDA food composition data. Actual values will vary based on butter brand, exact flour measurement, and crust thickness after rolling.