Our site contains ads and uses Amazon affiliate links. We may earn a small commission at no extra cost to you. We know ads can be distracting, and we’re sorry for any inconvenience they cause. It helps us keep the site running. Thanks for your understanding and supporting us!
Pumpkin slab pie sounds like a simple swap. Take a round pumpkin pie, spread it across a sheet pan, and bake. Most of the time it does not work out that cleanly.
A round pie is deep and forgiving. A slab pie is shallow and wide, and that shape changes how the crust, the custard, and even your oven’s heat behave.
This article walks through why that happens, then gives you a full recipe built to handle it from the first roll of the crust to the last clean cut.
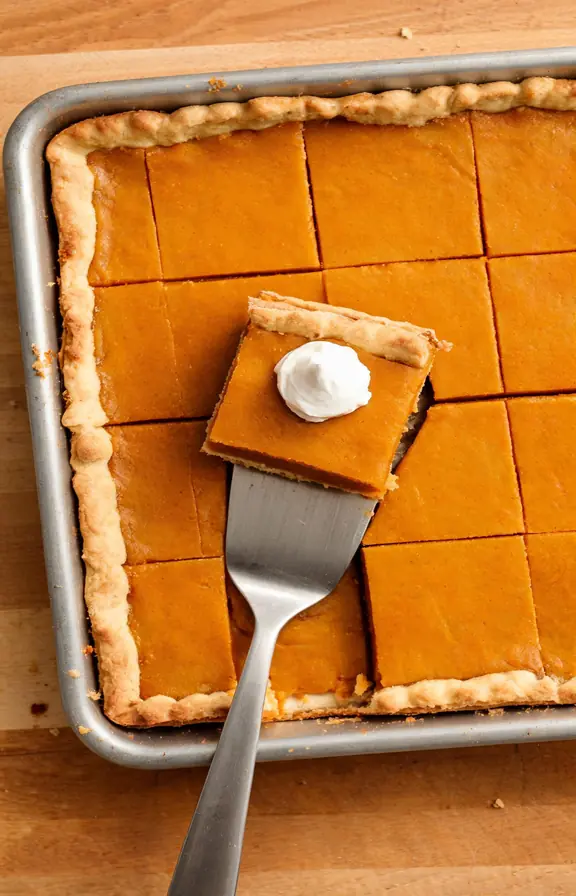
Why a Slab Pan Bakes Custard Differently Than a Round Pie
A standard pumpkin pie is 1.5 to 2 inches deep in the center and edges toward the crust on a slope. That depth is the whole reason round pumpkin pies are hard to time. The center has to travel further to catch up to the edges.
A slab pie flips that problem. The filling sits at a shallow, even depth of about three quarters of an inch across the entire pan, so there is no deep center lagging behind.
Instead, the challenge moves to the crust. With this much surface area covered in wet custard, the crust has almost no room to set before the filling soaks into it, and a metal sheet pan’s corners heat up faster than its middle.
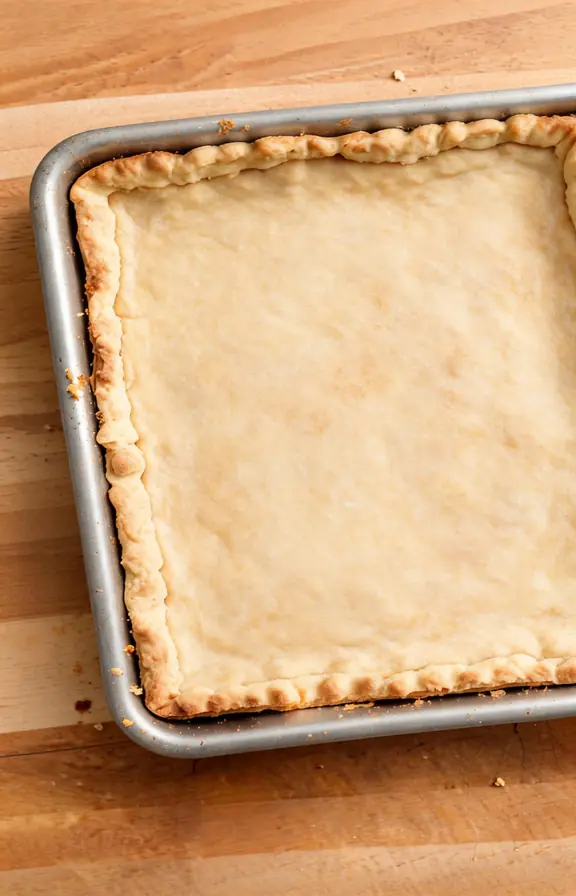
Blind Baking the Crust So It Actually Holds Up
Roll the dough to fit a 13×18 inch half sheet pan with enough overhang to crimp the edge, then chill it for at least 30 minutes. Cold dough holds its shape and resists slumping down the sides of the pan.
Line the chilled crust with foil and fill it with pie weights or dried beans, then par-bake it before the filling goes anywhere near it. This single step is what separates a crisp base from a sodden one, and it matters even more here than in a classic flaky butter pie crust baked in a standard round dish.
Pumpkin puree straight from the can carries a heavy water load, so blotting it lightly between paper towels for a few minutes before mixing removes some of that surface moisture. It is a small step, but it reduces how much extra liquid the crust has to fight off.
Straining the finished filling through a fine mesh sieve catches any stray egg strands and undissolved starch clumps, which keeps the custard smooth instead of speckled once it bakes.
Reading Doneness Across a Pan This Wide
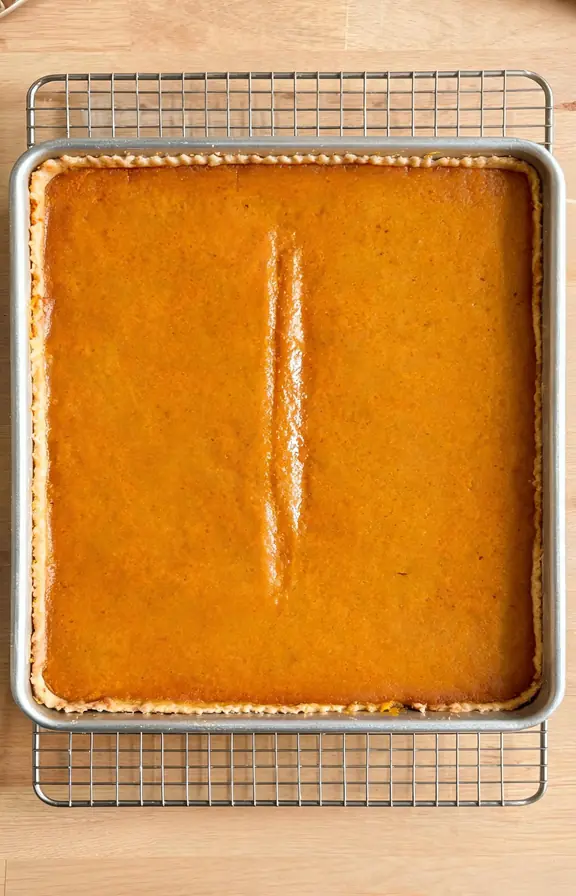
The classic knife-in-the-center test does not translate well to a slab pie because there is no single center point that represents the whole pan. Corners and edges near the metal sides finish first, while the middle strip lags slightly behind.
Check the pie at the two-inch mark in from every edge first. Once that outer ring looks matte and set, a gentle shake of the pan should only wobble the innermost strip like loose gelatin, not slosh like liquid.
Cutting Clean Squares Without Cracking the Filling
A slab pie needs a full cool down before it ever meets a knife. Let it sit at room temperature for no more than two hours, then refrigerate it uncovered until fully chilled, ideally overnight.
A cold, fully set custard slices cleanly, while a warm one tears and drags across the crust underneath it.
Wipe the knife clean between cuts and use a straight downward motion instead of sawing, which keeps the crust from crumbling at each edge.
Frequently Asked Questions
Pumpkin Slab Pie
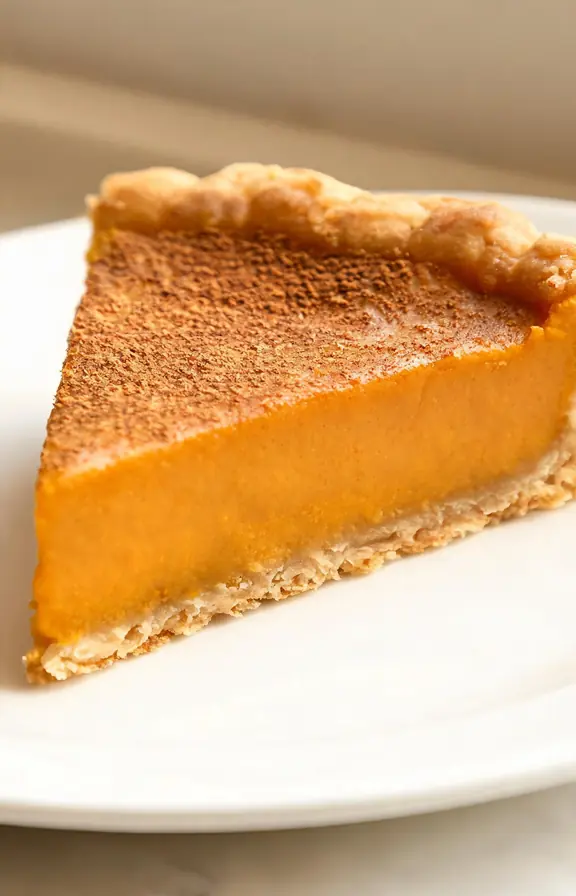
A crowd-size pumpkin pie with a crisp par-baked crust and a smooth, strained custard built to set evenly across a full sheet pan, so every square cuts clean without a soggy bottom.
- 13×18 inch half sheet pan
- Rolling pin
- Pie weights or dried beans
- Fine mesh strainer
- Large mixing bowl and whisk
- Paper towels (for blotting pumpkin)
- Kitchen scale (recommended)
- Sharp knife for cutting squares
- 300g (2 1/2 cups) all-purpose flour
- 1 tablespoon granulated sugar
- 1 teaspoon fine sea salt
- 280g (1 1/4 cups) cold unsalted butter, cubed
- 6 to 8 tablespoons ice water
- 2 (15 oz) cans pumpkin puree, blotted
- 5 large eggs
- 200g (1 cup) light brown sugar, packed
- 100g (1/2 cup) granulated sugar
- 3 tablespoons cornstarch
- 2 teaspoons pumpkin pie spice
- 1/2 teaspoon ground cinnamon
- 3/4 teaspoon fine sea salt
- 1 can (12 fl oz) evaporated milk
- 1/2 cup (120ml) heavy cream
- 1 teaspoon vanilla extract
- Make the crust Pulse the flour, sugar, and salt together, then add the cold cubed butter and pulse until pea sized clumps form. Add ice water a tablespoon at a time until the dough just comes together. Shape into a rectangle, wrap, and chill for 30 minutes.
- Roll and chill the crust Roll the chilled dough into a rectangle large enough to fit a 13×18 inch half sheet pan with a 1 inch overhang. Press it into the pan, trim and crimp the edges, then refrigerate for another 20 minutes.
- Blind bake the crust Preheat the oven to 375°F (190°C). Line the chilled crust with foil, fill with pie weights, and bake for 15 minutes. Remove the weights and foil and set the crust aside. Reduce the oven temperature to 350°F (175°C).
- Blot the pumpkin While the crust bakes, spread the pumpkin puree between two layers of paper towels and press gently to absorb excess moisture.
- Whisk the sugars and starch In a large bowl, whisk the brown sugar, granulated sugar, cornstarch, pumpkin pie spice, cinnamon, and salt together until fully combined.
- Build the custard Whisk in the eggs one at a time, then whisk in the blotted pumpkin puree, evaporated milk, heavy cream, and vanilla extract until smooth.
- Strain and pour Pour the custard through a fine mesh strainer directly into the warm par-baked crust, spreading it evenly to the edges.
- Bake Bake at 350°F (175°C) for 35 to 40 minutes, until the outer two inches look matte and set and only a narrow center strip still jiggles slightly when the pan is nudged.
- Cool and chill Let the pie cool at room temperature for up to 2 hours, then refrigerate uncovered until fully chilled, at least 3 hours or overnight, before cutting.
- Cut and serve Cut into 24 squares using a straight downward motion, wiping the knife clean between cuts. Serve chilled or at room temperature, with whipped cream if desired.
Nutritional values are estimates calculated using standard USDA food composition data. Actual values will vary based on exact ingredient brands, square size, and toppings used.