Our site contains ads and uses Amazon affiliate links. We may earn a small commission at no extra cost to you. We know ads can be distracting, and we’re sorry for any inconvenience they cause. It helps us keep the site running. Thanks for your understanding and supporting us!
Most dairy-free pumpkin mousse recipes tell you to refrigerate a can of coconut milk overnight and hope for the best. That works sometimes. But the fat-to-water ratio in coconut milk varies significantly by brand and even by batch.
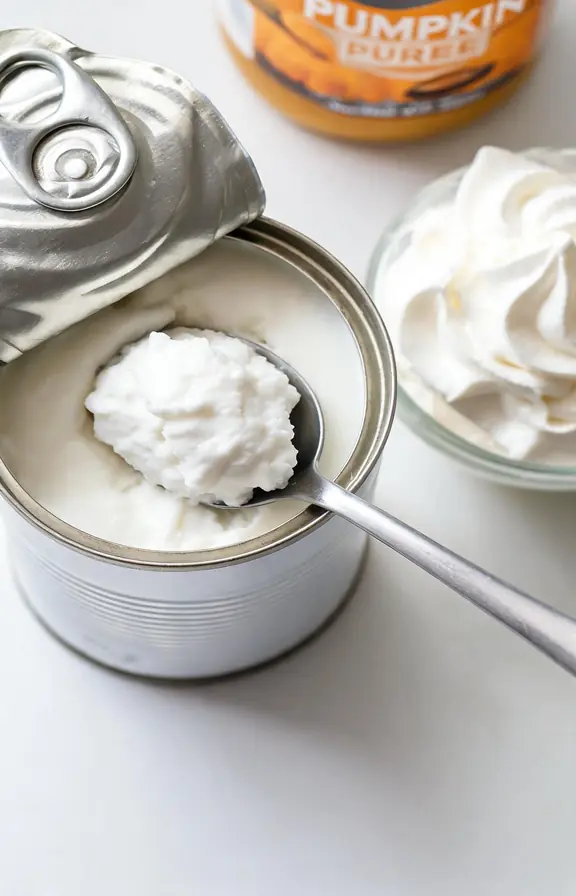
Canned coconut cream removes that variable entirely. It starts thick, whips fast, and holds its structure without any overnight guesswork. This recipe is built on that single upgrade, and the result is consistently silky every time you make it.
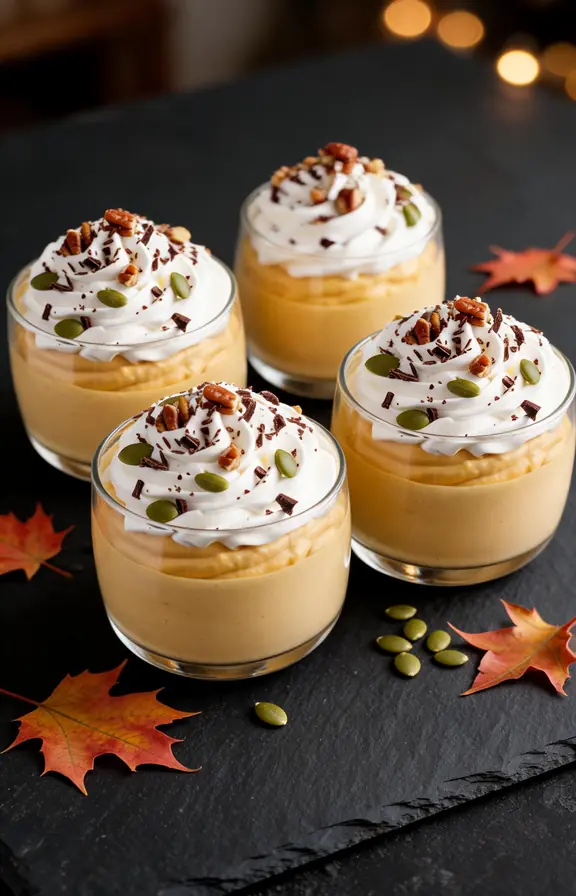
Why Coconut Cream Beats Refrigerated Coconut Milk for This Mousse
Refrigerating a can of coconut milk and scooping out the solid cream is a valid technique. But it has a hidden problem: the cream yield varies wildly between brands and storage temperatures.
Canned coconut cream is already a concentrated product. It contains 20 to 24% fat by volume, compared to the 13 to 17% fat in most canned coconut milk.
That higher fat content means more protein-stabilized fat globules available to trap air when whipped. The result is a mousse that holds stiff peaks reliably, not occasionally.
If you only have coconut milk, refrigerate it upright for 24 full hours and scoop only the hardened layer at the top. Discard the watery liquid below entirely. Adding any of that liquid will thin the mousse and prevent it from setting correctly.
The Science Behind Pumpkin Puree and Mousse Texture
Pumpkin puree is about 90% water by weight. Adding too much of it to a coconut cream base dilutes the fat and collapses the airy structure you worked to build.
The ratio that works is roughly 1 part pumpkin puree to 1.5 parts coconut cream by volume. This keeps enough fat in the mixture to stabilize the whipped network while still delivering that deep pumpkin flavor and natural orange color.
There is another reason this ratio matters. According to USDA research on pumpkin carotenoids, canned pumpkin delivers approximately 17,000 mcg of beta-carotene per cup, which your body converts into vitamin A.
Fat from coconut cream actually improves beta-carotene absorption because carotenoids are fat-soluble. Eating pumpkin with fat is not just delicious; it is nutritionally smarter.
How Spices Build Flavor Depth in Dairy-Free Pumpkin Mousse
Store-bought pumpkin spice blends work fine, but they are often dominated by cinnamon and light on ginger. The spice balance matters more in a no-bake, no-cook dessert because there is no roasting or baking to mellow harsh edges.
This recipe uses a custom blend that gives each spice a clear role. Cinnamon provides warmth and sweetness. Ground ginger adds brightness and a faint heat that cuts through the richness of coconut cream.
Nutmeg contributes a woody, slightly floral note that makes the mousse taste like real pumpkin pie filling. A small pinch of cloves adds depth without overpowering.
Do not skip the salt. A quarter teaspoon of fine sea salt amplifies every other flavor in the bowl.
If you enjoy pumpkin desserts in other forms, our pumpkin spice thumbprint cookies with creamy pumpkin filling use a similar spice profile and make a perfect companion to this mousse on a fall dessert table.
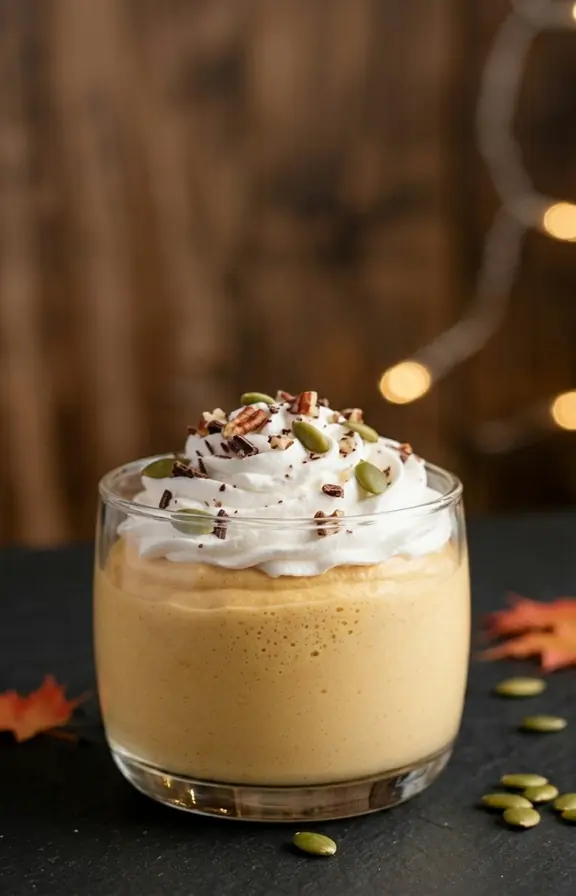
Whipping Technique: How to Get the Right Mousse Texture
The order you add ingredients determines whether you get mousse or a dense pumpkin dip.
Start by whipping the coconut cream alone for 60 to 90 seconds on high speed until it forms soft peaks. Add the powdered sugar and vanilla and whip for another 30 seconds.
Then fold in the pumpkin puree and spices by hand using a rubber spatula. Do not use the electric mixer after adding the pumpkin. Mechanical mixing at this stage deflates the air you built in the first two minutes and turns the mousse into a flat, heavy paste.
The fold technique is the same principle used in classic chocolate mousse made with whipped cream: cut down through the center with the spatula, sweep along the bottom, and fold up and over.
Rotate the bowl a quarter turn and repeat. Ten to twelve folds is usually enough. Stop when the color is even and no white streaks of coconut cream remain.
Serving Architecture: How to Build a Stunning Mousse Cup
This is the section no competitor recipe includes, and it is what separates a visually impressive dessert from a plain bowl of orange mousse.
Layer the mousse in small 4-ounce mason jars or clear glasses so every component is visible. Start with a base layer of crushed gingersnap cookies or graham crackers pressed firmly into the bottom.
Add a generous spoonful of mousse, then a thin layer of coconut whipped cream, then a second and final mousse layer. Top with a small dollop of coconut whipped cream, a few candied pecans, and a light dusting of cinnamon.
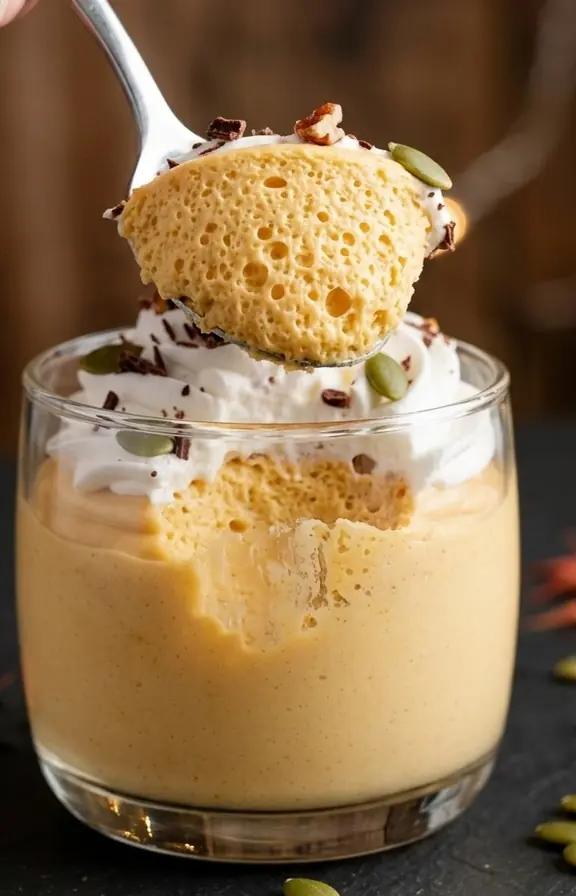
The layering serves a textural purpose, not just a visual one. The cookie base absorbs a small amount of moisture from the mousse over the chilling period, softening into something almost like a no-bake cheesecake crust.
This contrast between the crisp base, airy mousse, and creamy topping is what makes each spoonful interesting from first bite to last.
Make-Ahead and Storage Guide
This mousse is genuinely better the next day. The chilling time allows the spices to bloom fully into the coconut fat base, and the texture firms into a more stable, scoopable consistency.
Make the mousse up to 48 hours in advance and store it covered in the refrigerator. If you have already built the layered cups, cover each jar tightly with plastic wrap or a lid. Do not add the whipped cream topping or cookie garnish until just before serving. Both soften and deflate over more than a few hours in the fridge.
Do not freeze this mousse. Freezing fractures the emulsified fat network in coconut cream and produces a grainy, separated texture when thawed. Serve it cold from the refrigerator, never frozen.
Frequently Asked Questions
Dairy-Free Pumpkin Mousse
Silky, spiced, no-bake pumpkin mousse made with canned coconut cream. Vegan, gluten-free, and deeply flavored. Ready in 10 minutes with one hour of chilling. Serve in layered mason jar cups for a showstopper fall dessert.
- Electric hand mixer or stand mixer with whisk attachment
- Large mixing bowl (chilled in freezer for 10 minutes if possible)
- Rubber spatula (for folding)
- 4-ounce mason jars or small serving glasses (4 pieces)
- Measuring cups and spoons
- Fine mesh sieve (optional, for sifting powdered sugar)
- 1 can (13.5 oz / 400ml) full-fat canned coconut cream, cold
- 1/2 cup (120g) canned pumpkin puree (not pumpkin pie filling)
- 3 tablespoons (22g) powdered sugar, sifted (or powdered coconut sugar)
- 1 teaspoon pure vanilla extract
- 1 teaspoon ground cinnamon
- 1/2 teaspoon ground ginger
- 1/4 teaspoon ground nutmeg
- 1/8 teaspoon ground cloves
- 1/4 teaspoon fine sea salt
- 8 gingersnap cookies or 4 graham crackers, crushed into crumbs
- 1/2 cup store-bought coconut whipped cream (such as CocoWhip)
- 2 tablespoons candied pecans or toasted pecan halves
- Ground cinnamon for dusting
- Chill your equipment Place your mixing bowl and the whisk attachment in the freezer for 10 minutes before starting. Cold equipment dramatically improves how well the coconut cream whips. This step takes almost no effort and makes a meaningful difference in the final texture of the mousse.
- Whip the coconut cream Open the cold can of coconut cream. Pour the entire contents into your chilled bowl. Using the hand mixer or stand mixer on high speed, whip the coconut cream for 60 to 90 seconds until soft peaks form. The cream should look visibly thicker and hold a gentle shape when the whisk is lifted. Do not over-whip into stiff peaks at this stage; soft peaks give the mousse the best final texture after folding.
- Add sweetener and vanilla Add the sifted powdered sugar and vanilla extract to the whipped coconut cream. Whip on high speed for another 20 to 30 seconds until fully incorporated. Taste and add up to one more tablespoon of powdered sugar if you prefer a sweeter mousse. The base should taste lightly sweet and clean before the pumpkin goes in.
- Fold in pumpkin and spices Add the pumpkin puree, cinnamon, ginger, nutmeg, cloves, and salt to the bowl. Set the mixer aside. Using a rubber spatula, fold everything together by hand. Cut down through the center of the mixture, sweep along the bottom of the bowl, and fold up and over. Rotate the bowl a quarter turn and repeat. After 10 to 12 folds, the mousse should be an even orange color with no white streaks remaining. Do not stir or use the electric mixer at this stage; doing so will deflate the air and produce a flat, dense result.
- Taste and adjust Taste the mousse before chilling. If it needs more warmth, add a pinch more cinnamon or ginger. If the coconut flavor is too dominant, a small pinch of extra cloves will bring the spice forward. If it tastes flat, add a tiny pinch more salt. These adjustments are easier to make now than after the mousse has set.
- Build the layered cups Divide the crushed gingersnap cookies evenly between 4 mason jars, pressing gently to form a compact base layer. Spoon or pipe a generous layer of pumpkin mousse over the cookie base. Add a thin layer of coconut whipped cream. Finish with a final layer of mousse to the top of the jar. Cover each jar with a lid or plastic wrap.
- Chill and serve Refrigerate the assembled cups for at least 1 hour before serving. Two hours produces a firmer, more stable mousse. Just before serving, add a final dollop of coconut whipped cream, 2 to 3 candied pecan pieces, and a light dusting of ground cinnamon over the top. Serve cold directly from the refrigerator.
Nutritional values are estimates calculated using standard USDA food composition data and will vary based on the specific brand of coconut cream used, the exact amount of pumpkin puree, and any optional toppings added. Values shown are for the mousse only and do not include the cookie base, coconut whipped cream topping, or candied pecans.