Our site contains ads and uses Amazon affiliate links. We may earn a small commission at no extra cost to you. We know ads can be distracting, and we’re sorry for any inconvenience they cause. It helps us keep the site running. Thanks for your understanding and supporting us!
Pumpkin chocolate chip bread has a reputation problem. Half the loaves that come out of home ovens have a dense, wet streak running through the center, and the other half have every chocolate chip pooled at the bottom of the pan.
Neither issue is really about the recipe you’re following. It comes down to how much liquid ends up in the batter and how well that batter can physically hold onto heavy mix-ins while it bakes.
This article walks through why both problems happen, then gives you a full recipe built to avoid them from the first stir. If you’d rather finish the loaf with a tangy topping instead of chocolate chips, our pumpkin bread with cream cheese frosting uses the same moisture-control method on a frosted version.
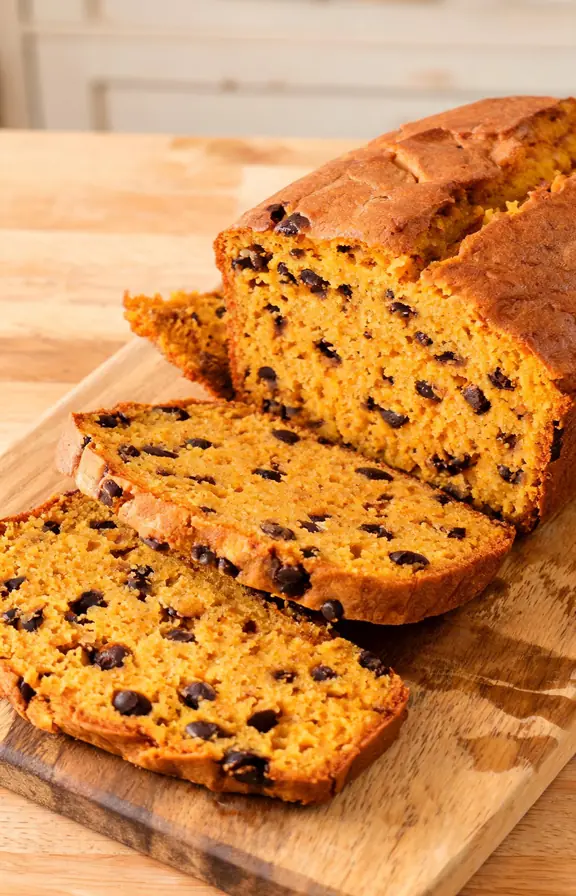
Why Pumpkin Chocolate Chip Bread Turns Out Gummy or Sinks in the Middle
Canned pumpkin puree is over ninety percent water. That single fact explains almost every texture complaint tied to this loaf.
A standard quick bread batter has very little free liquid in it before you add the pumpkin. Stir in a full cup of puree without adjusting anything else, and you’ve poured a large amount of extra water directly into the flour.
That water needs to evaporate during baking, or it stays trapped as a dense, wet band under the crust. On a loaf this size, the center is the last place heat reaches, which is exactly where that trapped water tends to collect.
The Weight-Based Fix That Keeps the Crumb Set
Blotting the puree is step one. Spread it between two layers of paper towels and press gently for a few minutes before it goes anywhere near the dry ingredients.
Using oil instead of butter is step two, and it matters more than most recipes let on. Butter is roughly one fifth water, and it firms up as the loaf cools, which can make day-two slices taste drier.
Oil stays liquid at room temperature, so it keeps the crumb tender for several days instead of just the first one.
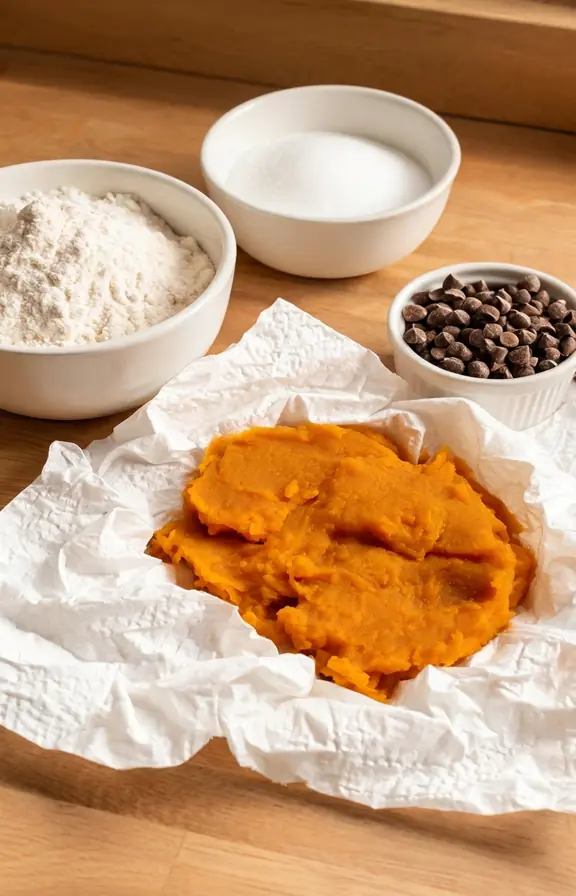
Step three is restraint at the mixing bowl. Stir the wet and dry ingredients together only until the streaks of flour disappear.
Overmixing develops gluten, and a loaf with too much gluten structure traps steam instead of releasing it, which is a second, separate way to end up with a sunken or gummy center.
Keeping the Chocolate Chips From Sinking to the Bottom
Chocolate chips are dense and smooth-surfaced, so they slide straight through a loose batter as it bakes. This is simple physics, not a flaw in your technique.
Toss the chips in about a teaspoon of flour, taken from the recipe’s own measured amount, before folding them in. The flour coating adds just enough surface friction to slow their descent while the batter’s structure is still setting.
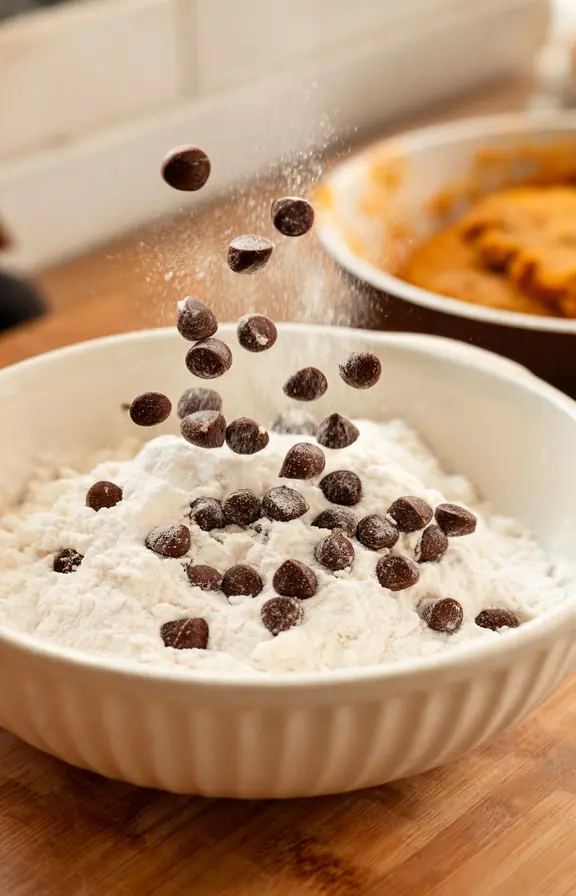
Mini chocolate chips sink less than standard-size ones simply because they weigh less per chip. If your loaf pan tends to run on the thinner or looser side, swapping in minis is an easy fix with no other changes needed.
Reserve a small handful of chips to press onto the batter’s surface right before it goes into the oven. Even if a few interior chips settle slightly, the top stays visibly studded with chocolate.
Why the Toothpick Test Fails on This Particular Loaf
A toothpick inserted straight into a melted chocolate chip will almost always come out looking wet, even when the surrounding crumb is fully baked. That false reading leads a lot of bakers to leave the loaf in far too long.
The opposite mistake happens too. A toothpick can slide into a small air pocket between chips and come out perfectly clean while the dense center right next to it is still raw.
An instant-read thermometer sidesteps both problems. Insert it into the very center of the loaf, avoiding the pan and any large chip clusters, and pull the bread once it reads 200 to 205°F.
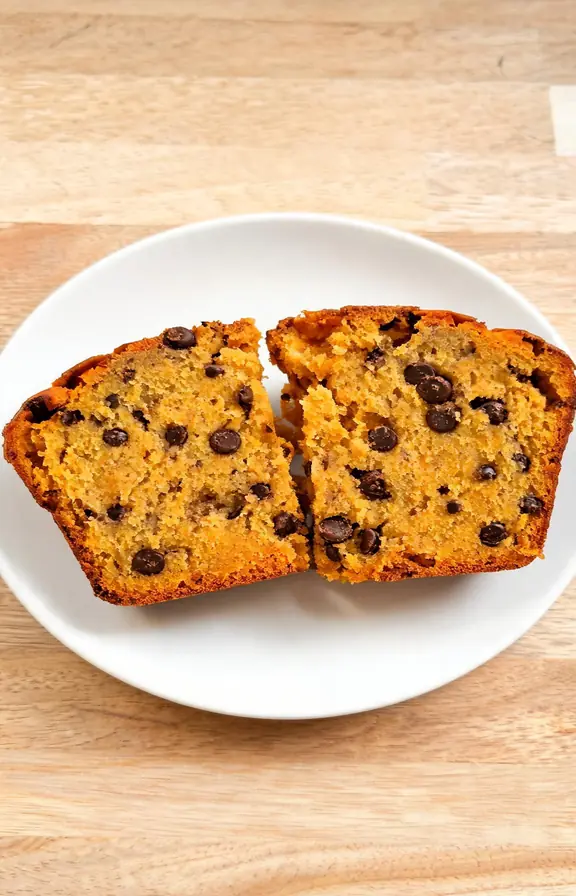
Let the loaf cool in its pan for 15 minutes before turning it out. Cutting into it any sooner traps steam inside and can make an otherwise perfectly baked loaf feel gummy right at the slice line.
Frequently Asked Questions
Pumpkin Chocolate Chip Bread
A moist, one-bowl pumpkin loaf built around weighed and blotted pumpkin puree, oil instead of butter, and flour-tossed chocolate chips that stay suspended through the crumb instead of sinking to the bottom.
- 9×5 inch loaf pan
- Parchment paper
- Kitchen scale
- Paper towels (for blotting pumpkin)
- Large mixing bowl
- Whisk
- Rubber spatula
- Instant-read thermometer
- 245g (1 3/4 cups) all-purpose flour
- 1 teaspoon baking soda
- 1/2 teaspoon baking powder
- 3/4 teaspoon fine sea salt
- 2 teaspoons pumpkin pie spice
- 1/2 teaspoon ground cinnamon
- 2 large eggs, room temperature
- 226g (1 cup) pumpkin puree, weighed and blotted
- 120ml (1/2 cup) neutral oil
- 150g (3/4 cup) granulated sugar
- 110g (1/2 cup) light brown sugar, packed
- 1 teaspoon vanilla extract
- 200g (1 1/4 cups) semisweet chocolate chips, divided
- 1 teaspoon all-purpose flour, for tossing
- Prep the pan and blot the pumpkin Preheat the oven to 350°F (175°C). Line a 9×5 inch loaf pan with parchment paper, leaving an overhang on the long sides. Spread the pumpkin puree between two layers of paper towels and press gently to absorb excess moisture.
- Whisk the dry ingredients In a large bowl, whisk together the flour, baking soda, baking powder, salt, pumpkin pie spice, and cinnamon. Set aside.
- Mix the wet ingredients In a separate bowl, whisk the eggs with the granulated sugar and brown sugar until combined. Whisk in the oil, vanilla extract, and blotted pumpkin puree until smooth.
- Combine wet and dry Pour the wet mixture into the dry ingredients. Fold together with a rubber spatula just until no streaks of flour remain. Stop as soon as the batter looks uniform.
- Toss and fold in the chocolate chips Toss the chocolate chips with the tossing flour in a small bowl, reserving 2 tablespoons for the top. Fold the floured chips gently into the batter.
- Pour and top Pour the batter into the prepared pan and smooth the top with the spatula. Scatter the reserved chocolate chips evenly over the surface.
- Bake to temperature Bake for 55 to 65 minutes, tenting loosely with foil after 35 minutes if the top is browning too quickly. The loaf is done when an instant-read thermometer inserted in the center, away from any large chip clusters, reads 200 to 205°F.
- Cool and slice Let the loaf cool in the pan for 15 minutes, then lift it out using the parchment overhang and transfer to a wire rack. Cool completely before slicing.
Nutritional values are estimates calculated using standard USDA food composition data. Actual values will vary based on exact ingredient brands, slice size, and chocolate chip amount.