Our site contains ads and uses Amazon affiliate links. We may earn a small commission at no extra cost to you. We know ads can be distracting, and we’re sorry for any inconvenience they cause. It helps us keep the site running. Thanks for your understanding and supporting us!
📊Recipe at a Glance
- Prep Time: 20 minutes
- Cook Time: 35 minutes
- Total Time: 3 hours (including cooling time)
- Servings: 16 bars
- Diet Type: Vegetarian
- Cuisine: American
You’re hosting a gathering and need a dessert that will make everyone stop mid-conversation and ask for the recipe.
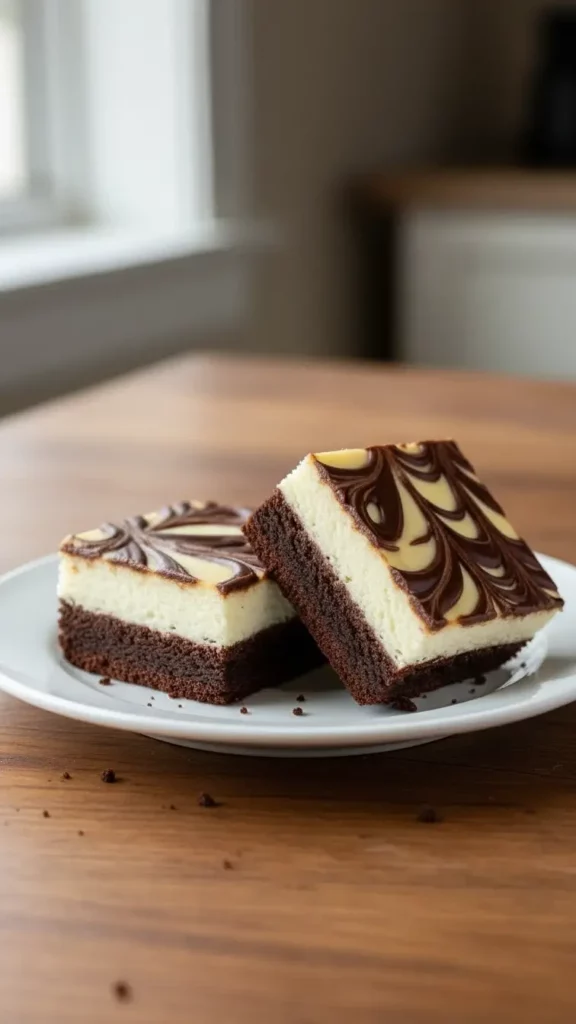
These Chocolate Cheesecake Brownie Bars are exactly that kind of show-stopper.
The moment you cut into these bars, you’ll reveal distinct layers: a fudgy chocolate brownie on the bottom, a velvety cream cheese middle, and gorgeous chocolate swirls dancing across the top.
The aroma alone fills your kitchen with warmth and draws everyone to the counter like a magnet.
Whether you’re a brownie enthusiast or a cheesecake devotee, this recipe delivers the best of both worlds in every single bite.
Why This Recipe Stands Out
- Triple Layer Indulgence: You get the best of both worlds with a rich brownie foundation, a luscious cheesecake middle, and gorgeous chocolate marbling on top.
- No Water Bath Required: Unlike traditional cheesecake recipes, these bars bake perfectly without the fussy water bath method, making them beginner-friendly.
- Perfect for Crowds: This recipe yields 16 generous bars, making it ideal for potlucks, parties, or meal prep for the week ahead.
- Make-Ahead Friendly: These bars actually taste better the next day as the flavors meld together, and they store beautifully in the refrigerator for up to five days.
- Customizable Flavor Profile: The basic recipe serves as a blank canvas for adding your favorite mix-ins like chocolate chips, nuts, or flavor extracts.
Ingredients You’ll Need
For the Brownie Layer:
- 1/2 cup unsalted butter
- 1 cup granulated sugar
- 2 large eggs
- 1/3 cup unsweetened cocoa powder
- 1/2 cup all-purpose flour
- 1/4 teaspoon salt
- 1/4 teaspoon baking powder
- 1 teaspoon vanilla extract
For the Cheesecake Layer:
- 16 oz cream cheese, softened to room temperature
- 1/2 cup granulated sugar
- 2 large eggs
- 1 teaspoon vanilla extract
- 2 tablespoons all-purpose flour
For the Chocolate Swirl:
- 1/2 cup semi-sweet chocolate chips
- 2 tablespoons heavy cream
Tools to Use
- 9×13 inch baking pan
- Parchment paper
- Two mixing bowls (medium and large)
- Electric mixer or hand whisk
- Rubber spatula
- Small microwave-safe bowl
- Toothpick or knife
- Cooling rack
How to Make the Chocolate Cheesecake Brownie Bars
Step-1: Prepare Your Pan and Oven
Preheat your oven to 350°F (175°C).
Line your 9×13 inch baking pan with parchment paper, leaving an overhang on two sides for easy removal later.
Lightly grease the parchment paper with butter or cooking spray.
This preparation ensures your bars will lift out cleanly without sticking.
Step-2: Create the Brownie Base
Melt the butter in a medium bowl using the microwave in 30-second intervals.
Stir in the sugar until the mixture becomes glossy and well combined.
Add the eggs one at a time, beating well after each addition until the batter looks smooth and slightly thickened.
Mix in the vanilla extract, filling your kitchen with its warm, sweet aroma.
Step-3: Incorporate Dry Ingredients
Sift together the cocoa powder, flour, salt, and baking powder in a separate bowl.
Add the dry ingredients to the wet mixture gradually, folding gently with a spatula.
Mix just until no flour streaks remain and you see a thick, fudgy batter.
Overmixing will create tough brownies, so stop as soon as everything is combined.
Step-4: Spread the Brownie Layer
Pour the brownie batter into your prepared pan.
Use your spatula to spread it evenly across the bottom, reaching all corners.
Smooth the top surface to create a level foundation for the cheesecake layer.
Set this aside while you prepare the cream cheese mixture.
Step-5: Make the Cheesecake Filling
Beat the softened cream cheese in a large bowl with an electric mixer until it becomes fluffy and smooth, about 2-3 minutes.
Add the sugar and continue beating until the mixture looks light and creamy.
Scrape down the sides of the bowl to ensure everything is well incorporated.
The mixture should have no lumps and should flow easily off your beater.
Step-6: Add Eggs to Cheesecake
Beat in the eggs one at a time, mixing on low speed to avoid incorporating too much air.
Add the vanilla extract and flour, mixing just until combined.
The batter should be silky smooth with a pale ivory color.
You’ll notice the sweet, tangy aroma of cream cheese mingling with vanilla.
Step-7: Layer the Cheesecake
Pour the cheesecake mixture over the brownie layer, spreading it gently to cover the entire surface.
Use a spatula to smooth the top, creating an even layer.
Tap the pan gently on the counter a few times to release any air bubbles.
The cream cheese layer should sit perfectly on top without mixing into the brownie base.
Step-8: Create Chocolate Swirls
Combine the chocolate chips and heavy cream in a small microwave-safe bowl.
Microwave in 20-second intervals, stirring between each, until the chocolate melts completely and becomes glossy.
Drizzle the melted chocolate over the cheesecake layer in parallel lines or a random pattern.
Use a toothpick or knife to drag through the chocolate, creating beautiful marbled swirls.
Step-9: Bake to Perfection
Place the pan in your preheated oven on the center rack.
Bake for 35-40 minutes until the edges look set but the center still has a slight jiggle.
The top should appear golden with the chocolate swirls creating an artistic pattern.
Your kitchen will fill with the heavenly scent of chocolate and vanilla.
Step-10: Cool Completely
Remove the pan from the oven and place it on a cooling rack.
Let the bars cool at room temperature for about 30 minutes.
Transfer the pan to the refrigerator and chill for at least 2 hours, or preferably overnight.
This cooling time allows the layers to set properly and makes cutting much easier.
Step-11: Slice and Serve
Use the parchment paper overhang to lift the entire block out of the pan.
Place it on a cutting board and use a sharp knife dipped in hot water to cut clean slices.
Wipe the knife between cuts for the neatest edges.
Cut into 16 equal bars and admire the beautiful layers you’ve created.
Related Recipes You’ll Love to Try
- Dark Chocolate Quinoa Bites: Healthy Sweet Snack You’ll Crave
- Easy Banana Split Dump Cake: Crowd-Pleasing Dessert Everyone Loves
- Chocolate Lava Cake Recipe: A Molten Masterpiece in Minutes
- Sweet Potato Pound Cake: Moist, Cozy & Perfect for Any Season
Nutritional Information
- Calories: 285 per bar
- Protein: 5g
- Fat: 17g
- Carbohydrates: 29g
- Sodium: 145mg
Note: Nutritional values are approximate and may vary based on specific brands and ingredients used.
Tips for Success
- Room Temperature Ingredients: Ensure your cream cheese and eggs are at room temperature before starting. This prevents lumps in your cheesecake layer and creates a smoother texture.
- Don’t Overbake: The center should still jiggle slightly when you remove the bars from the oven. They will continue to set as they cool, and overbaking leads to dry, cracked bars.
- Use Quality Cocoa: The brownie layer’s flavor depends heavily on your cocoa powder. Dutch-processed cocoa gives a richer, darker flavor, while natural cocoa provides a more traditional brownie taste.
- Sharp Knife for Clean Cuts: Always clean your knife between cuts and dip it in hot water. This technique ensures each bar has neat, professional-looking edges without dragging the layers.
- Chill Before Cutting: Patience is key. Cutting these bars before they’re fully chilled will result in messy, uneven pieces that fall apart.
- Line with Parchment: The parchment paper overhang is essential for easy removal. Don’t skip this step, or you’ll struggle to get the bars out of the pan intact.
Common Mistakes to Avoid
- Using Cold Cream Cheese: Cold cream cheese creates lumps that won’t disappear no matter how much you mix. Take it out of the refrigerator 30-45 minutes before you start baking.
- Overmixing the Cheesecake Layer: Beating too much air into the cream cheese mixture causes cracks and an uneven texture. Mix on low speed and stop as soon as ingredients are combined.
- Skipping the Cooling Time: Cutting into warm bars results in a gooey mess. The cheesecake layer needs time to firm up in the refrigerator before slicing.
- Using a Dull Knife: A dull knife drags and tears through the layers instead of cutting cleanly. Use your sharpest knife and clean it frequently.
- Not Greasing the Parchment: Even parchment paper benefits from a light coating of cooking spray. This extra step ensures the bars release perfectly without sticking.
- Baking at Too High Temperature: A temperature above 350°F causes the cheesecake to puff up and crack. Stick to the recommended temperature for best results.
Creative Serving Ideas
- Ice Cream Sandwich Style: Warm a bar slightly in the microwave for 10-15 seconds and sandwich it between two scoops of vanilla ice cream. The warm, gooey texture paired with cold ice cream creates an incredible contrast.
- Garnish with Fresh Berries: Top each bar with fresh raspberries, strawberries, or blueberries just before serving. The tartness of the fruit cuts through the rich chocolate and balances the sweetness perfectly.
- Dust with Powdered Sugar: A light dusting of powdered sugar through a fine-mesh sieve adds an elegant, bakery-style finish. This works especially well for special occasions or gift-giving.
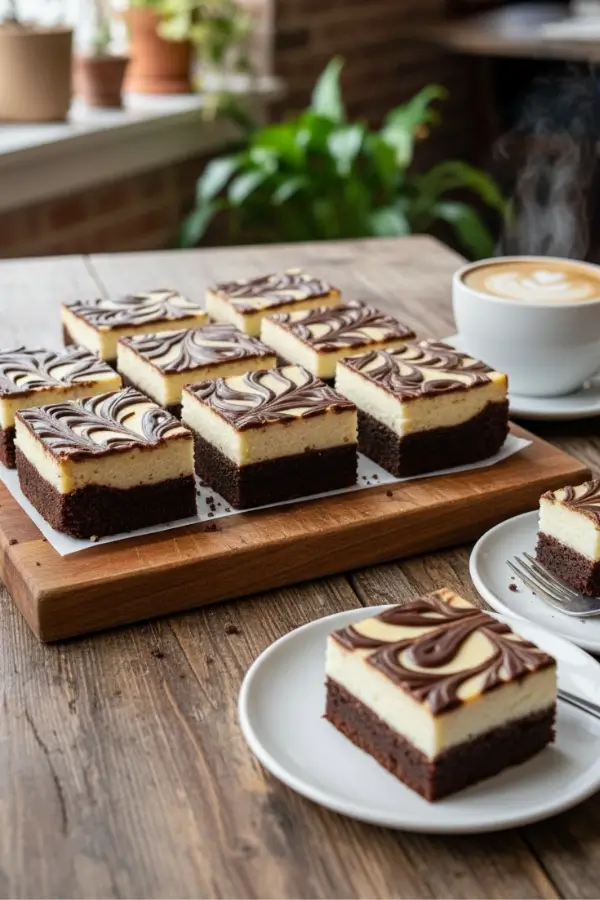
- Create a Dessert Platter: Cut the bars into smaller bite-sized pieces and arrange them on a platter with other desserts. They make excellent additions to cookie trays or dessert buffets.
- Add a Drizzle: Melt additional chocolate or caramel sauce and drizzle it over individual bars just before serving. This extra touch makes them look restaurant-quality.
- Serve with Coffee or Milk: The richness of these bars pairs beautifully with a hot cup of coffee or a cold glass of milk. The beverages help balance the intense chocolate flavor.
Frequently Asked Questions
Can I Freeze Chocolate Cheesecake Brownie Bars?
Yes, these bars freeze exceptionally well for up to three months.
Wrap individual bars tightly in plastic wrap, then place them in an airtight freezer bag.
Thaw overnight in the refrigerator before serving for best texture.
Why Did My Cheesecake Layer Crack?
Cracks typically occur from overmixing, overbaking, or cooling too quickly.
Mix the cheesecake layer on low speed and remove the bars from the oven while the center still jiggles slightly.
Allow them to cool gradually at room temperature before refrigerating.
Can I Use Low-Fat Cream Cheese?
While you can substitute low-fat cream cheese, the texture won’t be as rich and creamy.
Full-fat cream cheese provides the best flavor and smooth, luxurious consistency.
Reduced-fat versions may result in a slightly grainy texture.
How Do I Know When the Bars Are Done Baking?
The edges should be set and slightly pulling away from the pan while the center still has a gentle jiggle.
Insert a toothpick into the brownie layer (not the cheesecake) and it should come out with a few moist crumbs.
The cheesecake layer will firm up completely as it cools.
Can I Make These Bars Gluten-Free?
Yes, substitute the all-purpose flour with a 1:1 gluten-free baking flour blend.
Ensure all other ingredients, especially the baking powder, are certified gluten-free.
The texture will be nearly identical to the original recipe.
How Long Do These Bars Last?
Stored in an airtight container in the refrigerator, the bars stay fresh for up to five days.
The flavors actually improve after the first day as they meld together.
Always keep them refrigerated due to the cream cheese content.
Can I Add Mix-Ins to the Brownie Layer?
Absolutely, fold in 1/2 cup of chocolate chips, chopped nuts, or white chocolate chunks after mixing the brownie batter.
Avoid adding too many mix-ins, as they can make the bars difficult to cut cleanly.
Distribute them evenly for consistent flavor in every bite.
Why Is My Brownie Layer Too Cakey?
Overmixing the brownie batter incorporates too much air, creating a cake-like texture.
Mix just until the ingredients are combined and no flour streaks remain.
Using the correct amount of butter and eggs also ensures a fudgy consistency.


